1. Oloa Ua Ovaview
This manual provides detailed instructions for the Gamrombo Wireless Controller, designed for use with Xbox One, Xbox Series X|S, PC, and Windows 10/11 operating systems. Please read this manual carefully before use.
1.1 Fa'amaumauga o Mea
- Gamrombo Wireless Controller (x2)
- 2.4GHz USB Adapter (x2)
- USB Type-C Uaea Totogi (x2)
- Tusi Lesona a le Tagata (lenei pepa)
1.2 Fa'atonu Pule
The Gamrombo Wireless Controller features a standard layout with responsive buttons, joysticks, and triggers for an enhanced gaming experience.

Ata 1.1: Luma view of the Gamrombo Wireless Controllers and 2.4GHz USB Adapters.

Ata 1.2: Auiliiliga view of controller buttons, joysticks, and triggers.
2. Seti ma So'oga
2.1 Connecting to Xbox Consoles (Xbox One, Xbox Series X|S)
- Ensure your Xbox console is powered on.
- Insert the 2.4GHz USB adapter into an available USB port on your Xbox console.
- Press and hold the Home button on the controller for 3 seconds to power it on. The indicator light on the controller will flash rapidly.
- Once the controller connects to the adapter, the indicator light will become solid, indicating a successful connection.
2.2 Connecting to PC (Windows 10/11)
- Ia mautinoa ua ola lau PC.
- Insert the 2.4GHz USB adapter into an available USB port on your PC. The system will automatically install the necessary drivers.
- Press and hold the Home button on the controller for 3 seconds to power it on. The indicator light on the controller will flash rapidly.
- Once the controller connects to the adapter, the indicator light will become solid. You can now use the controller for PC games.

Image 2.1: Controller compatibility with various platforms.
2.3 Totogiina le Pule
To charge the controller, connect the included USB Type-C cable to the charging port on the controller and the other end to a USB power source (e.g., console, PC, or USB wall adapter). The indicator light will show charging status and turn off when fully charged.
3. Fa'atonuga o Galuega
3.1 Malosi / Malosi
- Malosiaga: Oomi ma uu le faamau Home mo le 3 sekone.
- Tapē le eletise: Press and hold the Home button for 5-8 seconds. The controller will automatically power off after 5 minutes of inactivity.
3.2 Galuega Turbo
The Turbo function allows for rapid, repeated input of a button press, which can be beneficial in certain games.
- Oomi ma uu le Turbo button.
- While holding the Turbo button, press the desired action button (e.g., A, B, X, Y, LB, RB, LT, RT). The Turbo function is now activated for that button.
- To deactivate Turbo for a specific button, repeat the process: press and hold the Turbo button, then press the action button again.

Image 3.1: Instructions for activating the Turbo function.
3.3 Dual Vibration
The controller features dual motors for vibration feedback, providing an immersive gaming experience. Vibration intensity can vary based on game support and in-game settings.

Image 3.2: Dual-motor vibration feedback levels.
3.4 Audio Jack and Volume Control
The controller includes a standard 3.5mm stereo audio jack for connecting headsets. Volume can be adjusted directly on the controller.
- I luga le Volume: Push the volume slider to the right (+).
- Volume Lalo: Push the volume slider to the left (-).
- Gūgū: Press and hold the middle of the volume slider to mute audio.

Image 3.3: Audio jack and volume control details.
4. Tausiga
- Fa'amamaina: Faaaoga se ie vaivai ma mago e faamama ai le masini pulea. Aloese mai le faaaogaina o vailaau malolosi po o mea e olo ai.
- Teuina: Teu le masini i se nofoaga malulu, matutu mamao ese mai le susulu o le la ma le vevela tele.
- Tausiga maa: To prolong battery life, avoid fully discharging the controller frequently. Charge the controller regularly, even if not in active use.
5. Faʻafitauli
5.1 Fa'afitauli So'oga
- Pule e le o feso'ota'i: Ensure the 2.4GHz USB adapter is securely plugged into the console/PC. Make sure the controller is charged. Try re-pairing by powering off and on the controller.
- Feso'ota'iga vavalo: Ensure there are no strong wireless interference sources nearby. Try moving closer to the console/PC.
5.2 Controller Firmware Upgrade
If you experience persistent connection issues, particularly with Xbox consoles, a firmware upgrade may be required. The upgrade process is performed on a Windows PC.

Image 5.1: Information regarding controller firmware upgrade for connection issues.
- Upgrade Program Download: we.tl/t-I78iIsdPhP
- Video Upgrade Steps: youtu.be/2Q_x2bhtcUU
- The upgrade typically takes 2-3 minutes and ensures continued compatibility with Xbox devices.
5.3 Isi Mataupu
- Ua le tali mai ki: Ensure the controller is powered on and connected. Restart the controller and try again.
- Vibration not working: Siaki tulaga i totonu o le taaloga e faʻamautinoa ua faʻagaoioia le gatete.
6. Fa'amatalaga
| Fa'aaliga | Fa'amatalaga |
|---|---|
| Feso'ota'i | 2.4GHz Lelei |
| Fegalegaleaiga | Xbox One, Xbox Series X|S, PC (Windows 10/11) |
| Malosiaga ma'a | 650mAh |
| Taimi Totogi | 2-3 itula |
| Taimi o Galuega | 8-10 itula |
| Siaki leo | 3.5mm Stereo |
| Tetete | Ta'ilua Motors |
| Fa'ali'i Gaioi | 6-Axis (for supported games/platforms) |
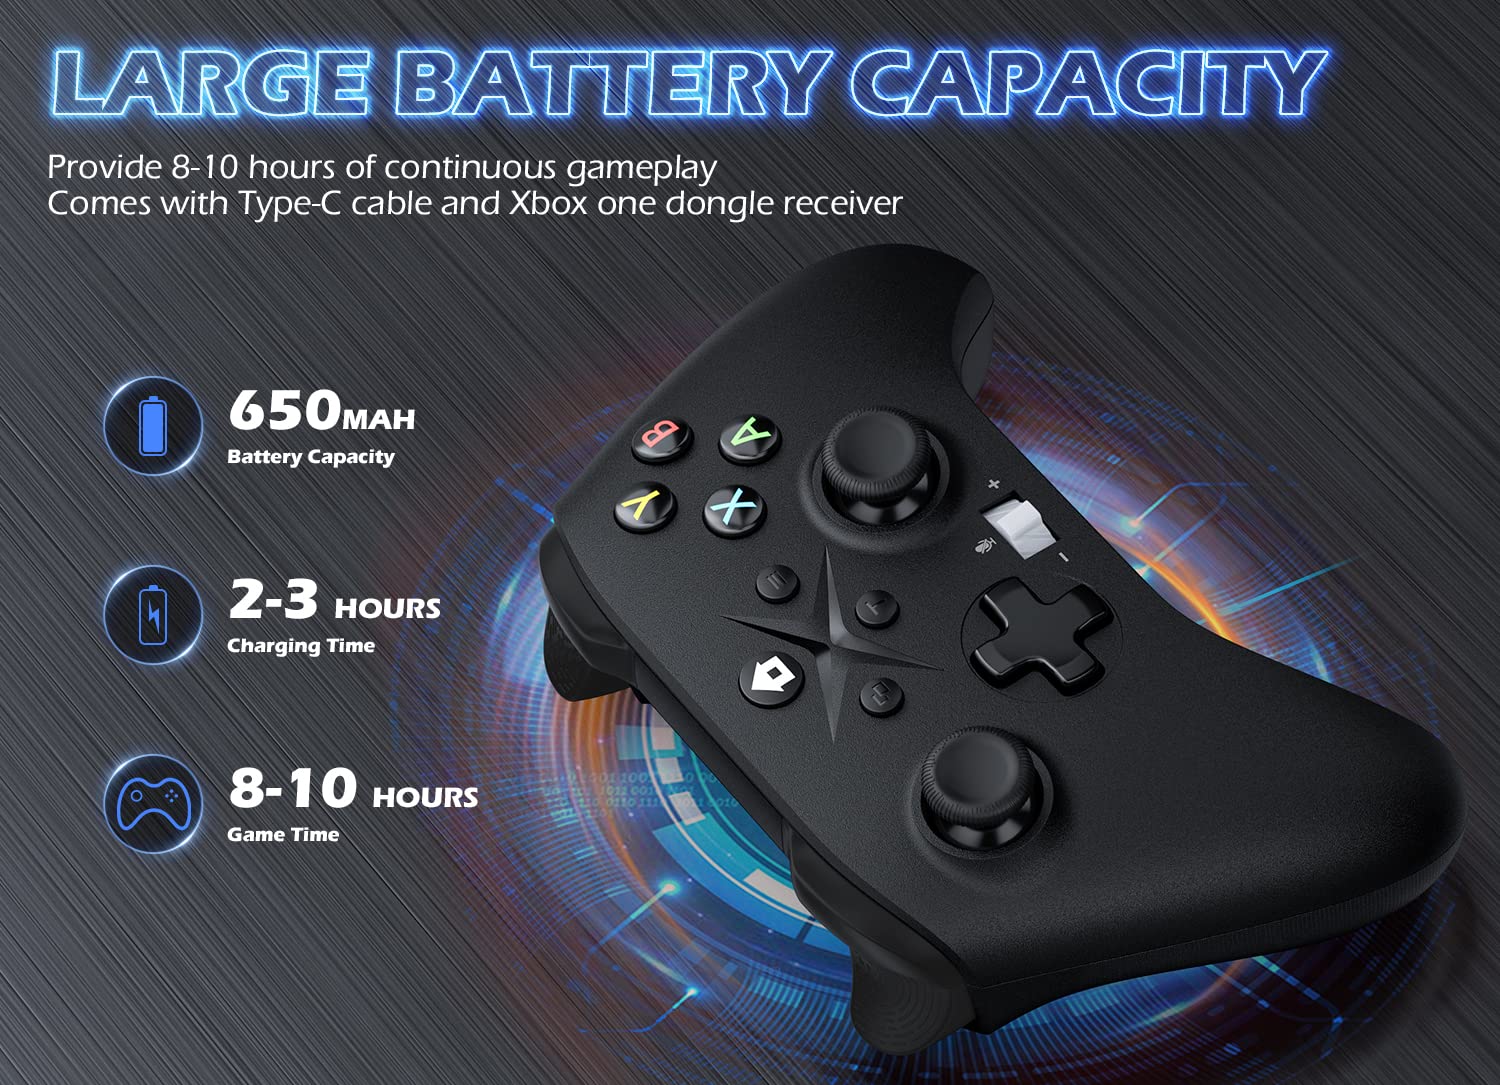
Image 6.1: Battery specifications.
7. Fa'amatalaga Taua mo le Saogalemu
- Aua ne'i fa'aalia le masini fa'atonutonu i le vevela tele, susū, po'o le susulu sa'o o le la.
- ʻAloʻese mai le pa'ū pe faʻaosofia foʻi le masini faʻatonutonu i ni tuʻiga malolosi.
- Do not attempt to disassemble or modify the controller. This may void the warranty and cause damage.
- Keep the controller and its accessories out of reach of small children.
- Fa'aaoga na'o le uaea e fa'atauina ai po'o se mea fa'amaonia tutusa.
8. Lagolago Tagata Fa'atau
For further assistance or inquiries, please contact Gamrombo customer support through the retailer's platform or the official Gamrombo webnofoaga.


