1. Folasaga
This user manual provides comprehensive instructions for the installation, operation, and maintenance of your HDWR videoCAR-L300 Dash Cam. Please read this manual thoroughly before using the device to ensure proper functionality and to maximize its lifespan. Keep this manual for future reference.
2. Oloa Ua Ovaview
The HDWR videoCAR-L300 is a versatile dash camera designed to enhance your driving safety and record your journeys. It functions as both a front and rear recording device, integrated into a rearview mirror with a touchscreen display.
Vaega Autu:
- Full HD Pu'eina Vitio: The front camera records in Full HD (1920x1080) resolution, providing clear and detailed video footage.
- Rear Camera Functionality: The rear camera offers VGA (640x480) recording resolution and can also serve as a reverse camera for parking assistance.
- Integrated 4.7-inch Touchscreen Display: The wide mirror, approximately 30 cm, features a built-in 4.7-inch touchscreen for easy operation and increased rear visibility.
- 120-Degree Wide-Angle Lens: The front camera's lens offers a 120-degree viewing angle, capturing a broad area in front of your vehicle.
- Fa'agaoioi otometi: Features include automatic camera start and stop, motion detection, and adjustable sensitivity.
- G-Sensor for Impact Detection: Automatically protects recordings from being overwritten in the event of sudden braking or a collision.
- Lagolago Card MicroSD: Supports microSD memory cards up to 32GB for storing recorded video and audio files.

Ata 2.1: Luma view of the HDWR videoCAR-L300 Dash Cam, showing the mirror display with a car image.
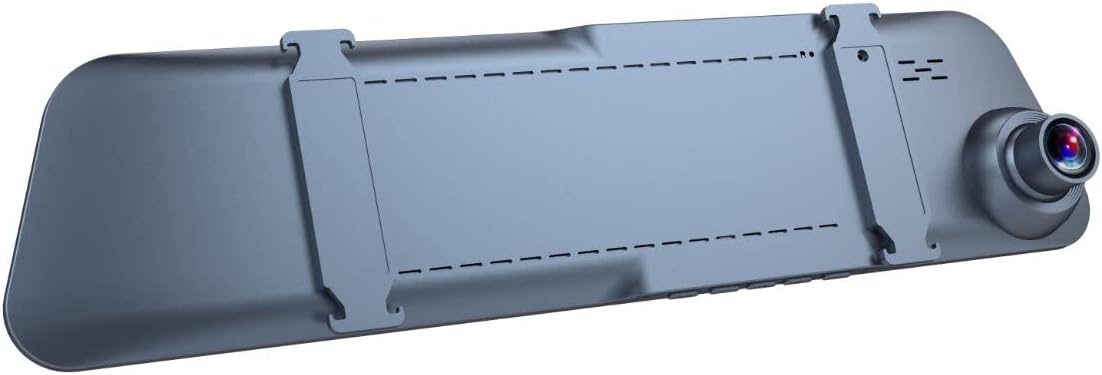
Ata 2.2: Tua view of the HDWR videoCAR-L300 Dash Cam, highlighting the mounting clips for installation.
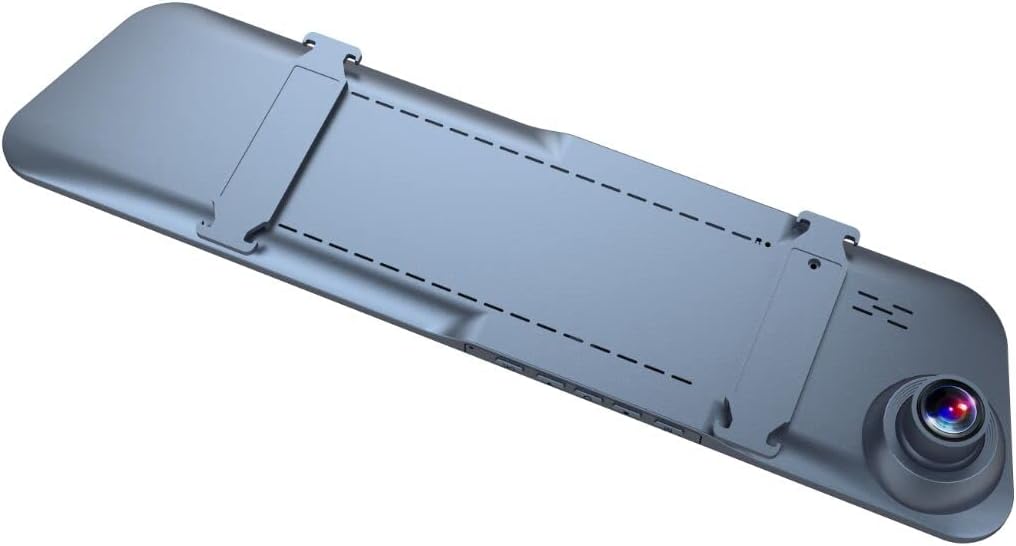
Ata 2.3: Fa'afa'ifa'i i tua view of the HDWR videoCAR-L300 Dash Cam, showing the camera lens and mounting clips.

Ata 2.4: Pa view illustrating the various perspectives of the HDWR videoCAR-L300 Dash Cam.
3. Seti ma Fa'apipi'i
3.1 O a mea i totonu o le Pusa
A'o le'i amataina le fa'apipi'iina, fa'amolemole ia mautinoa o lo'o i ai vaega uma:
- HDWR videoCAR-L300 Dash Cam Unit
- Uaea Totogi
- Fa'apipi'i Meafaigaluega
- Tusi Lesona a le Tagata (lenei pepa)
3.2 Installation Steps (Windshield Mount)
The videoCAR-L300 is designed for windshield mounting, typically over your existing rearview fa'ata.
- Saunia le masini: Gently unbox the dash cam and ensure the protective film is removed from the screen and lens.
- Fa'amauina: Securely attach the dash cam to your vehicle's rearview mirror using the integrated clips. Ensure it is firmly in place and does not obstruct your view.
- Fesoʻotaʻi le Mana: Use the provided charging cable to connect the dash cam to your vehicle's 12V power outlet (cigarette lighter socket). Route the cable neatly to avoid interference with driving.
- Install Rear Camera (Optional): If using the rear camera, connect it to the main unit and route its cable to the rear of the vehicle. Mount the rear camera in a suitable location, typically near the license plate or inside the rear window, ensuring a clear view.
- Fa'aofi le MicroSD Card: Insert a compatible microSD card (up to 32GB, not included) into the designated slot on the dash cam. Ensure it is inserted correctly until it clicks into place.
- Malosiaga Muamua Ki: Start your vehicle. The dash cam should automatically power on. If not, press the power button.
- Fetuuna'i le tulimanu: Adjust the angle of the front camera lens to ensure it captures the road ahead clearly. Use the live view on the touchscreen display for precise alignment.

Figure 3.1: The dash cam installed on the vehicle's rearview mirror, showing its integration into the car's interior.
4. Fa'atonuga o Galuega
4.1 Malosi / Malosi
- Fa'agaoioi otometi: The device is designed to automatically power on and begin recording when your vehicle's ignition is turned on, and power is supplied. It will automatically power off when the ignition is turned off.
- Fa'atonuga Tusia: Ina ia ki pe tape le masini i le lima, oomi ma uu le faamau o le eletise o loo i luga o le masini.
4.2 Fa'atautaia o le Laupapa Pa'i
The 4.7-inch touchscreen display allows for intuitive navigation through menus and settings.
- Fa'aoga Autu: Fa'aali ola view from the front and/or rear cameras.
- Avanoa i Menus: Tap the screen to reveal menu icons. Swipe left/right or up/down to navigate through options.
- Filifiliga Filifiliga: Tap se aikona po'o se filifiliga e filifili ai.

Figure 4.1: The dash cam's screen showing a live road view, indicating active recording.
4.3 Faiga Fa'amau
- Fa'amau Fa'amau: The dash cam continuously records video in segments (e.g., 1, 3, or 5 minutes). When the memory card is full, the oldest unlocked files e otometi lava ona overwritten.
- G-Sensor (Faamaumauga Faafuasei): In the event of sudden braking or a collision, the built-in G-Sensor detects the impact and automatically locks the current video segment, preventing it from being overwritten by loop recording.
- Su'eina o Gaioiga: When enabled, the camera will automatically start recording if it detects movement in front of the vehicle while parked. This feature requires continuous power supply.
4.4 Toe ta'alo
Ia toeview faamauina footage:
- From the main screen, tap to access the menu.
- Select the "Playback" or "Gallery" option.
- Browse through the recorded video and audio files. Loka files (from G-Sensor events) will typically be in a separate folder.
- Tap a file to play it back on the screen.
4.5 Settings Adjustment
Access the settings menu to customize various parameters:
- I'uga Vitio: Adjust recording quality (e.g., Full HD, VGA).
- Ta'amilosaga Ta'amilosaga Umia Fa'amau: Set the length of video segments.
- G-Sensor Lagona: Adjust the sensitivity of the impact detection.
- Su'eina o Gaioiga: Fa'amalo pe tape le vaega lea.
- Aso/Taimi Stamp: Ensure the correct date and time are set for accurate recording timestamps.
- Pu'eina leo: Enable or disable microphone recording.
- Sefe ole lau: Set the display to turn off after a period of inactivity to avoid distraction while driving.
5. Tausiga
Regular maintenance ensures optimal performance and longevity of your dash cam.
- Fa'amama le Lens: Use a soft, lint-free cloth to gently wipe the camera lenses. Avoid abrasive materials or harsh chemicals that could scratch the lens.
- Fa'amama le Mata: Wipe the touchscreen display with a soft, dry cloth. For stubborn smudges, slightly dampi le ie i le vai.
- MicroSD Card Maintenance: Format the microSD card regularly (e.g., once a month) within the camera's settings to prevent data corruption and ensure smooth recording. Back up any important footagu a'o le'i fa'atulagaina.
- Tempera: Avoid exposing the device to extreme temperatures (very hot or very cold) for extended periods, as this can affect battery life and component performance.
- Fa'amauga malu: Ia siaki i lea taimi ma lea taimi ua fa'apipi'i lelei le dash cam ina ia puipuia ai le gatete mai le a'afia ai o le lelei o le vitio pe pa'ū ai le masini.
6. Faʻafitauli
If you encounter issues with your HDWR videoCAR-L300, refer to the following common problems and solutions:
| Fa'afitauli | Mafuaaga e ono tupu | Fofo |
|---|---|---|
| E le ola le masini. | No power supply; loose cable connection; faulty power adapter. | Check the charging cable connection to the device and the vehicle's power outlet. Ensure the vehicle's ignition is on. Try a different power outlet or cable if available. |
| Tu'u pe malolo le pu'eina. | Full or corrupted microSD card; slow microSD card; G-Sensor triggered too often. | Format the microSD card (back up data first). Use a high-speed (Class 10 or U1/U3) microSD card. Adjust G-Sensor sensitivity in settings. |
| Vitio fotage le manino pe le manino le e. | Dirty lens; protective film still on lens; improper camera angle. | Clean the camera lens with a soft cloth. Remove any protective film. Adjust the camera angle to ensure a clear view o le auala. |
| Ua le tali mai le mata. | Fa'aletonu polokalame le tumau. | Perform a soft reset by pressing and holding the power button until the device restarts. If unresponsive, disconnect power and reconnect. |
| Rear camera not working. | Loose connection; faulty cable or camera. | Siaki le feso'ota'iga o le uaea o le meapueata i tua i le iunite autu. Ia mautinoa e le'i fa'aleagaina le uaea. |
If the problem persists after trying these solutions, please contact HDWR customer support for further assistance.
7. Fa'amatalaga
| Fa'aaliga | Fa'amatalaga |
|---|---|
| Fa'ailoga | HDWR |
| Igoa Fa'ata'ita'iga | videoCAR |
| Numera Fa'ata'ita'i Mea | L300 |
| Fua o Mea | 3.5D x 29.7W x 7H cm; 180 grams |
| Tele lau | 4.7 inisi |
| Video Resolution (Front) | Full HD (1920x1080p) |
| Video Resolution (Rear) | VGA (640x480) |
| Viewi le Angle | 120 Tikeri |
| Ituaiga Flash Memory | microSD (e oʻo i le 32GB) |
| Tekinolosi Feso'ota'i | AUX |
| Fa'apitoa Fa'apitoa | Motion Sensor, G-Sensor |
| Metotia Pulea | Pa'i |
| Ituaiga Fa'amau | Mauga Windshield |
| Ma'a e aofia ai | Leai |
| Masini Fegalegaleai | Telefonitelefoni |
8. Fa'amaonia ma Lagolago
For warranty information and technical support, please refer to the official HDWR website or contact their customer service directly. Details regarding warranty periods and service procedures are typically provided with your purchase documentation or on the manufacturer's webnofoaga.
Mo nisi fesoasoani, fa'amolemole asiasi: www.hdwr.eu


