
Folasaga
This manual provides comprehensive instructions for the setup, operation, maintenance, and troubleshooting of your Avision AD340G Compact High Speed Duplex Document Scanner. Please read this manual thoroughly before using the scanner to ensure proper and safe operation.
Fa'amatalaga Saogalemu
Mata'ituina puipuiga nei mo le saogalemu e puipuia ai le manu'a ma le faaleagaina o le masini su'e:
- Fa'aaoga na'o le mea fa'apipi'i eletise o lo'o tu'uina atu ma le su'e.
- Aua ne'i tu'u le siki ile vai po'o le susū tele.
- Tuu le scanner i luga o se mea mautu ma tutusa.
- Taofi le scanner ese mai le susulu sa'o o le la ma punaoa o le vevela.
- Unplug the scanner before cleaning or if it will not be used for an extended period.
O mea o lo'o i totonu
Fa'amautinoa o lo'o iai mea uma i totonu o le afifi:
- Avision AD340G Document Scanner
- Fetuunaiga Malosi
- Uaea USB
- Taiala vave amata
- CD o le polokalama (po'o fa'atonuga e sii mai)
Ua Umaview
Familiarize yourself with the main components of the Avision AD340G scanner.
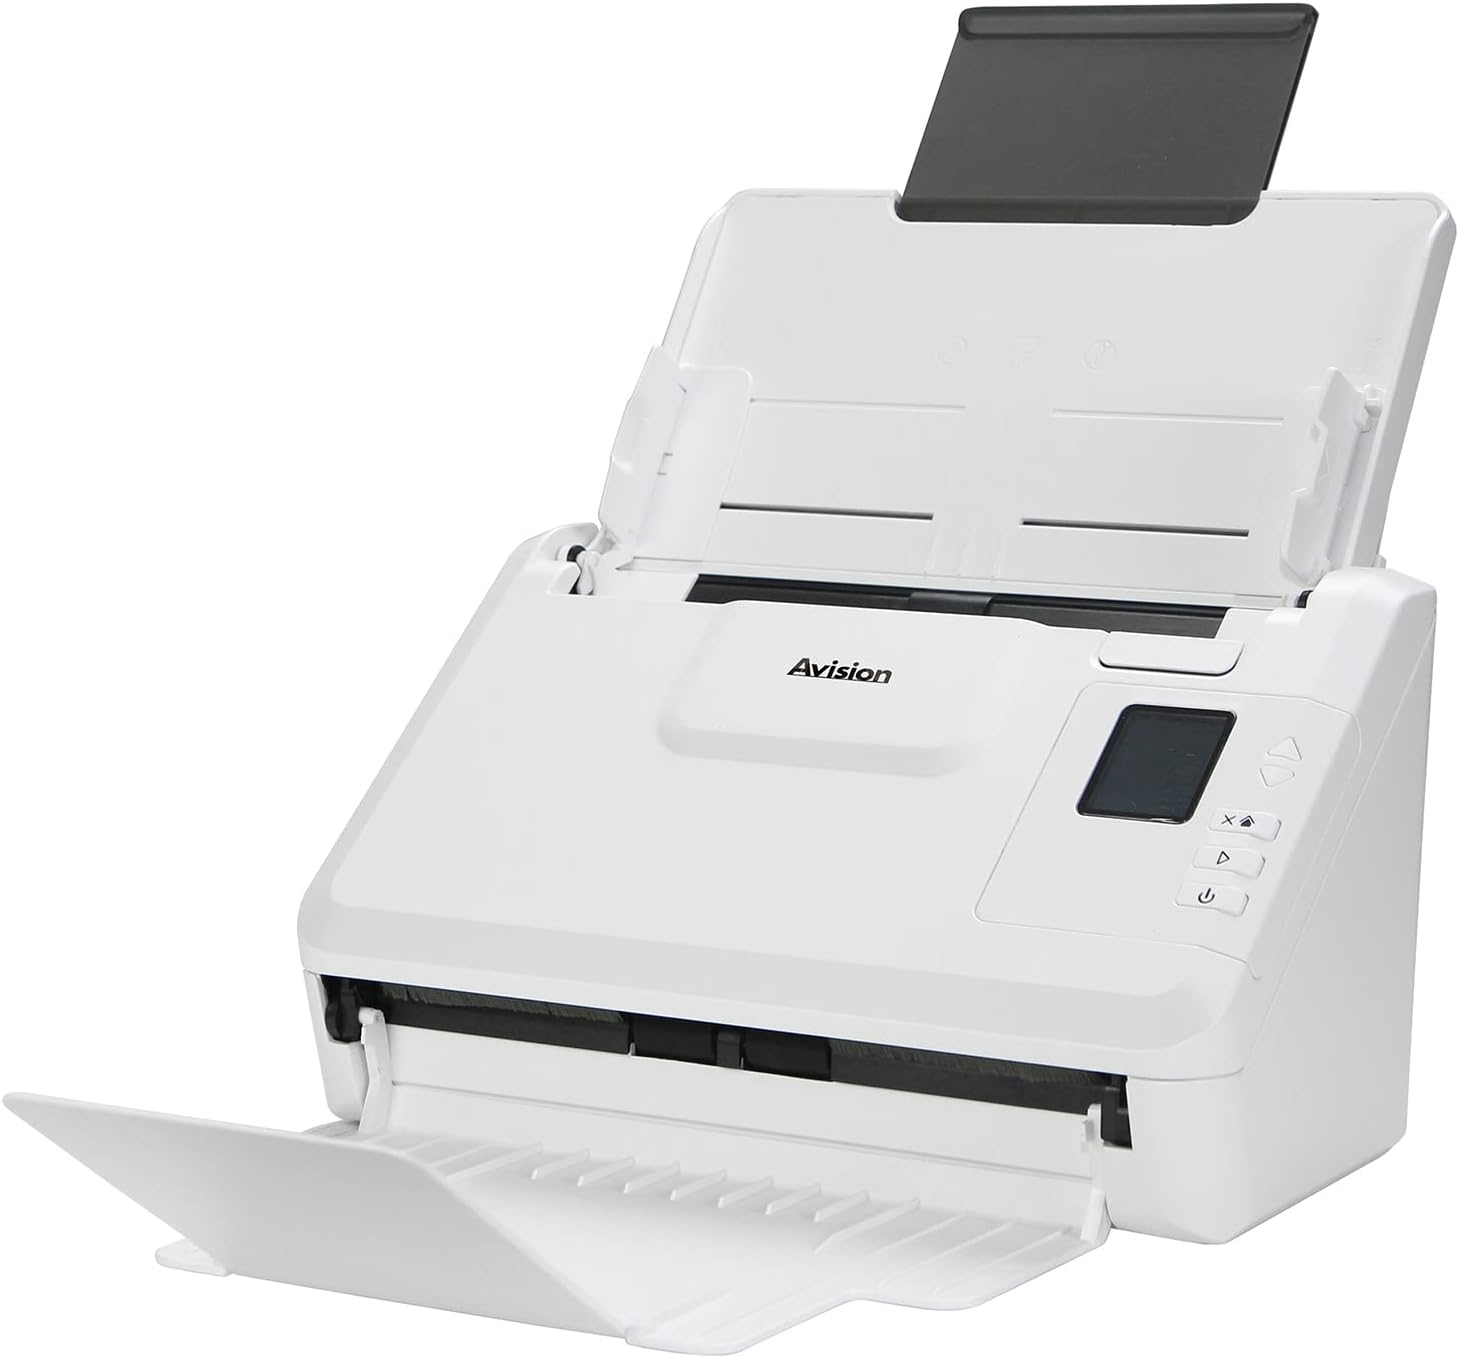
Ata: The Avision AD340G scanner shown with its input and output trays extended, ready for document feeding. This view highlights the compact design and accessible paper path.
- Document Feeder Tray: Where documents are loaded for scanning.
- Fata Fa'aulufale: Where scanned documents are ejected.
- Vaega Pule: Buttons and display for scanner operation.
- Taulaga USB: Mo le faʻafesoʻotaʻi i se komepiuta.
- Uafu eletise: Mo le faʻafesoʻotaʻi o le eletise.
Seti
1. Fa'atonu Fa'aletino
- Tatala le fa'ailoga: Aveese ma le faaeteete le masini su'e ma mea uma mai le afifiina.
- Tuu le Scanner: Position the scanner on a flat, stable surface with adequate space for the input and output trays.
- Fesoʻotaʻi le Mana:
- Connect the power adapter to the scanner's power port.
- Fa'afeso'ota'i le feso'ota'iga eletise i se so'o eletise.
- Feso'ota'i ile komepiuta:
- Connect one end of the USB cable to the scanner's USB port.
- Fa'afeso'ota'i le isi pito o le uaea USB i se uafu USB avanoa i lau komepiuta.
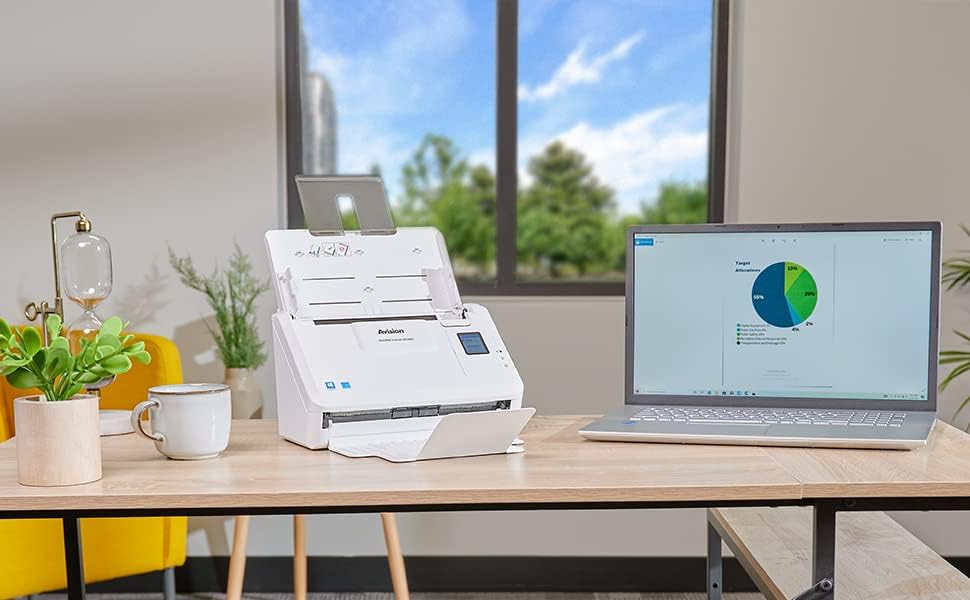
Ata: The Avision AD340G scanner set up on a desk next to a laptop, illustrating a typical connected environment. This shows the scanner's compact footprint when in use.
2. Fa'apipi'i polokalame
Install the necessary drivers and scanning software from the provided CD or by downloading them from the official Avision webnofoaga.
- Insert the software CD into your computer's CD/DVD drive, or navigate to the Avision support website to download the latest drivers and utilities for the AD340G model.
- Follow the on-screen instructions to complete the installation. This typically includes installing the TWAIN/ISIS drivers and the Avision scanning utility software.
- Toe amata lau komepiuta pe a fa'amalosia.
Fa'agaioia le Scanner
1. Loading Documents
- Open the document feeder tray and extend the output tray.
- Fetuuna'i taiala pepa ina ia fetaui ma le lautele o au pepa.
- Place the documents face-down in the input tray, ensuring they are neatly stacked and aligned. The scanner supports up to 50 sheets.

Ata: A hand carefully placing a stack of documents into the input tray of the Avision AD340G scanner, demonstrating the correct loading procedure.
2. Scanning Procedure
- Fa'aola le scanner e ala i le oomiina o le ki o le mana.
- Launch the Avision scanning software on your computer.
- Filifili lau su'esu'e pro e mana'omiafile (e.g., color, grayscale, black & white, resolution). The AD340G supports duplex scanning (both sides simultaneously).
- Click the "Scan" button in the software or press the scan button on the scanner's control panel.
- The scanner will feed and process the documents. Once scanning is complete, the images will appear in the software.
- Review the scanned images, make any necessary adjustments (e.g., rotate, crop), and save them to your desired location and format (e.g., PDF, JPEG, TIFF).
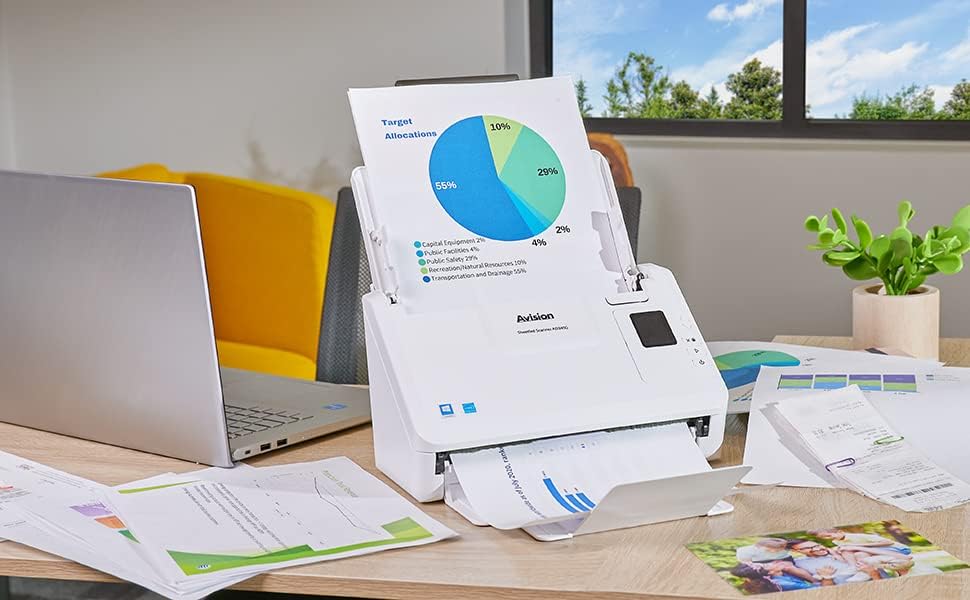
Ata: The Avision AD340G scanner in operation, feeding a document with a pie chart. This illustrates the scanner's ability to handle various document types efficiently.
Tausiga
Fa'amamāina o le Scanner
O le fa'amama masani e fa'amautinoa ai le fa'atinoina lelei ma fa'alautele le ola o lau su'e.
- Pepe ma Se'ese le palaka: Always turn off the scanner and disconnect the power adapter and USB cable before cleaning.
- Mama fafo: Wipe the exterior of the scanner with a soft, lint-free cloth lightly dampfa'asusu i vai po'o se fa'amama mama, e le fa'asa.
- Clean Interior (Rollers and Glass):
- Open the scanner cover to access the rollers and glass scanning surfaces.
- Gently wipe the feed rollers with a clean, lint-free cloth. If necessary, use a small amount of isopropyl alcohol on the cloth for stubborn residue.
- Clean the glass scanning strips with a soft cloth and glass cleaner (non-ammonia based).
- Allow all components to dry completely before closing the cover and reconnecting power.
Fa'afitauli
| Fa'afitauli | Mafuaaga e ono tupu | Fofo |
|---|---|---|
| E le ola le masini siaki. | E le'i feso'ota'i le uaea eletise; fa'afitauli i le paipa eletise. | Ia mautinoa o lo'o feso'ota'i lelei le uaea eletise. Taumafai se isi so'o eletise. |
| Documents jam frequently. | Misaligned paper guides; worn rollers; dirty rollers. | Adjust paper guides. Clean the feed rollers. If problem persists, rollers may need replacement. |
| Scanned images are blurry or have lines. | Dirty scanning glass; incorrect resolution settings. | Clean the scanning glass. Adjust scanning resolution in the software. |
| Scanner not detected by computer. | USB cable disconnected; driver not installed or corrupted. | Check USB cable connection. Reinstall scanner drivers. Try a different USB port. |
Fa'amatalaga
Key technical specifications for the Avision AD340G Document Scanner:
- Fa'ata'ita'iga: AD340G
- Ituaiga Scanner: ADF Duplex Document Scanner
- Feso'ota'i: USB
- I'uga: 600 dpi (Opitika)
- Saosaoa Fa'ata: 40 ppm (pages per minute) / 80 ipm (images per minute)
- Lanu loloto: 48 bits input / 24 bits output
- Avanoa Pepa masani: 50 pepa
- Fa'atekonolosi fa'apitoa: CIS (Faʻafesoʻotaʻi le Sensor Ata)
- Fua o Mea: 11 x 6.1 x 6.5 inisi
- Mea mamafa: 8 pauna
- Manaoga Fa'atonu: Windows XP/7/8/10
Fa'amaonia ma Lagolago
For warranty information, technical support, or service inquiries, please refer to the warranty card included with your product or visit the official Avision website. Contact information for customer support can typically be found on the manufacturer's webnofoaga.
Avision Official Webnofoaga: www.avision.com


