Caroma D1 (B0FSZZL7PR)
Caroma Electric Scooter D1 User Manual
Model: D1 (B0FSZZL7PR) | Brand: Caroma
1. Folasaga
Welcome to the Caroma Electric Scooter D1 user manual. This manual provides essential information for the safe operation, maintenance, and troubleshooting of your new electric scooter. Please read this manual thoroughly before using the scooter to ensure optimal performance and safety.

Figure 1: Caroma Electric Scooter D1 - General View (Animated)
2. Lapataiga Taua mo le Saogalemu
O le le mulimulita'i i nei fa'atonuga mo le saogalemu e ono i'u ai i se manu'a tuga pe oti fo'i.
- Fai i taimi uma se pulou ma mea e fa'aoga ai le saogalemu (tuiuli, tulilima) pe a tietie.
- Aua le ti'eti'e i tulaga susū, timuga mamafa, pe uia fo'i vai.
- Avoid riding on uneven surfaces, loose gravel, or slippery terrain.
- Ia mautinoa ua fa'amau uma polo ma fa'amau a'o le'i tietie.
- Aua le sili atu i le maualuga o le uta o le 300 lbs (136 kg).
- Taofi lima uma e lua i luga o au a'o tietie.
- Ia faamasani oe i tulafono ma aiaiga a le lotoifale e faatatau i le faaaogaina o sikaleti eletise.
- Children should only operate the scooter under adult supervision.
3. Seti ma Fonotaga
Your Caroma Electric Scooter D1 comes partially assembled. Follow these steps for final assembly and initial setup:
- Tatalaina: Aveese ma le fa'aeteete vaega uma mai le afifiina. Siaki pe iai se mea ua fa'aleagaina i le taimi o felauaiga.
- Fa'apipi'i U'u: Attach the handlebar to the main stem. Ensure it is securely fastened with the provided bolts. The handlebar is designed to fold for transport; ensure it is locked in the upright position before riding.
- Fetuunaiga Nofo: Adjust the seat height to a comfortable riding position. Ensure the quick-release lever or bolts are securely tightened.
- Ato Fa'apipi'i: Secure the rear carry basket to the designated mounting points using the provided hardware.
- Si'itia o Pa'u: Inflate the 14-inch fat tires to the recommended pressure (check tire sidewall for PSI). The tires are air-filled for better shock absorption.
- Su'e taofi: Test both front and rear disc brakes to ensure they are functioning correctly. Adjust brake tension if necessary.
- Totogi Muamua: Fully charge the scooter before its first use. Refer to the "Charging" section for detailed instructions.
Vitio 1: Ua umaview of the Caroma D1 Electric Scooter, demonstrating its features and design. This video is provided by the seller and offers a visual guide to the product.
4. Fa'atonuga o Galuega
To operate your Caroma Electric Scooter D1, follow these steps:
- Malosiaga: Insert the key into the ignition located near the battery compartment and turn it to the "ON" position. The battery level indicator on the handlebar will light up.
- Pulea fa'amau: The scooter features a twist-grip throttle on the right handlebar. Gently twist the throttle towards you to accelerate.
- taofi: Use the brake levers on both handlebars to slow down or stop. The scooter is equipped with dual mechanical disc brakes for effective stopping power. The rear tail light will illuminate brighter when brakes are applied.
- Molī: Press the headlight button on the left handlebar to turn the front headlight and rear tail light on/off.
- Bell: Use the bell on the left handlebar to alert pedestrians or other riders.
- Faiga gaugau: To fold the handlebar for transport, locate the folding latch near the base of the handlebar stem. Disengage the latch and fold the handlebar down. Ensure it is securely latched when unfolded for riding.
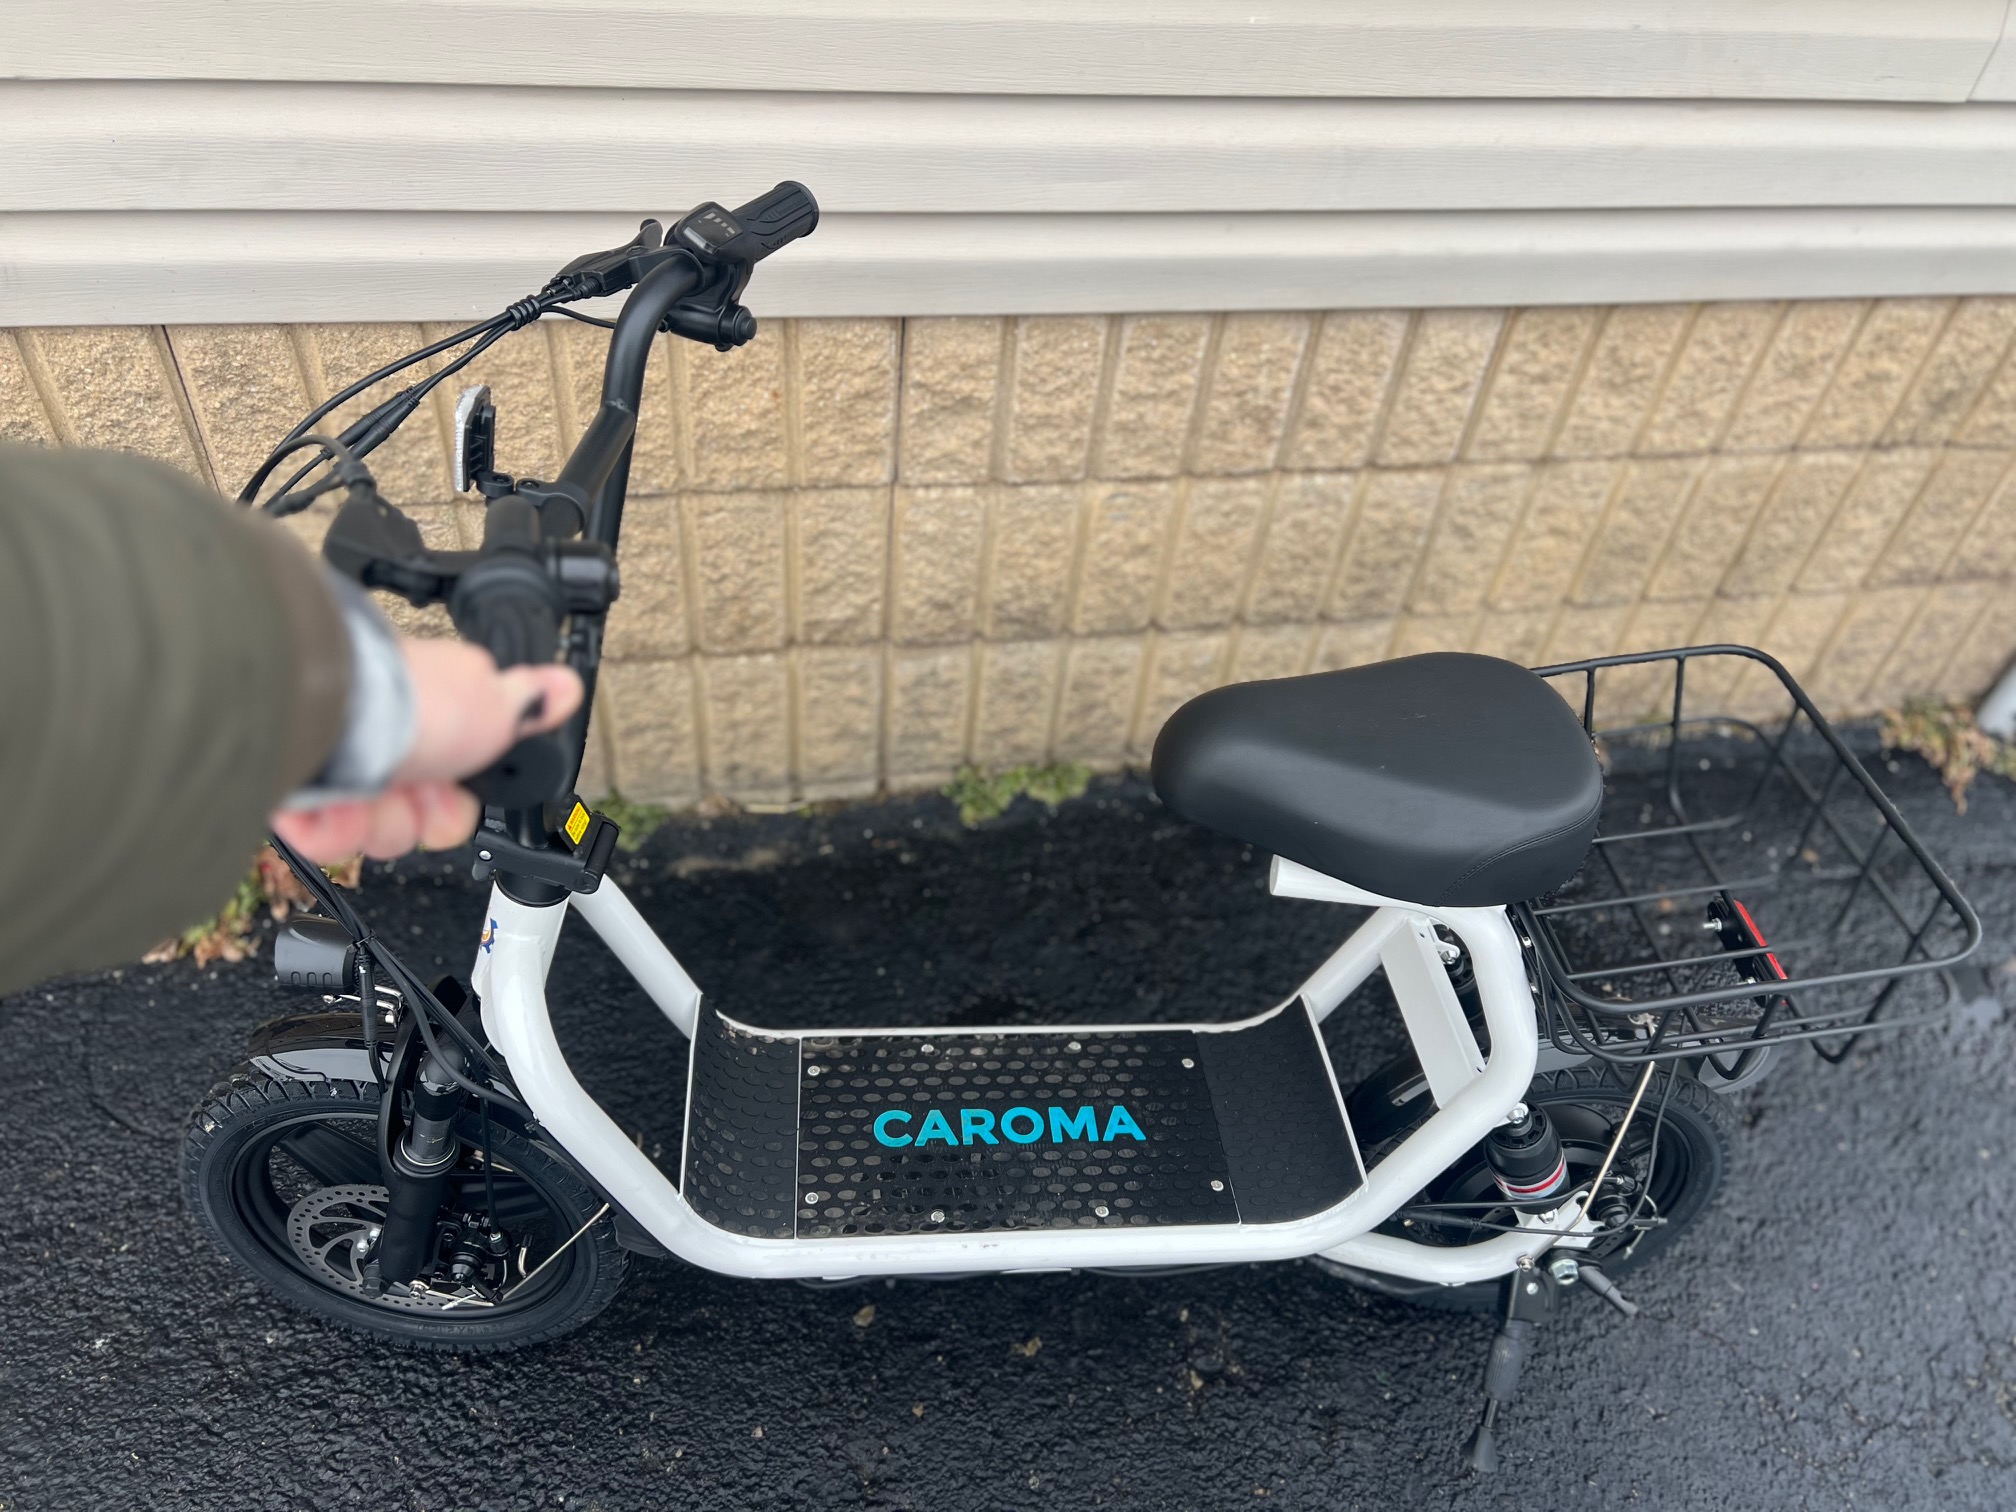
Figure 2: Handlebar Controls and Battery Indicator (Illustrative)
5. Totogiina le Maa
To charge your Caroma Electric Scooter D1:
- Ia mautinoa ua pe le scooter.
- Locate the charging port on the side of the battery compartment, near the ignition key.
- Fa'afeso'ota'i le charger i le port e fa'atumu ai le eletise, ona fa'apipi'i lea o le charger i se outlet masani i le puipui.
- O le moli faailoilo i luga o le charger e masani ona mumu a'o fa'atumuina ma liu lanumeamata pe a atoa le fa'atumuina.
- E tusa ma le 7-8 itula le umi e fa'atumu ai mo se fa'atumuga atoa.
- Ia fa'aaoga i taimi uma le masini fa'atumu muamua na tu'uina atu fa'atasi ma lau scooter.
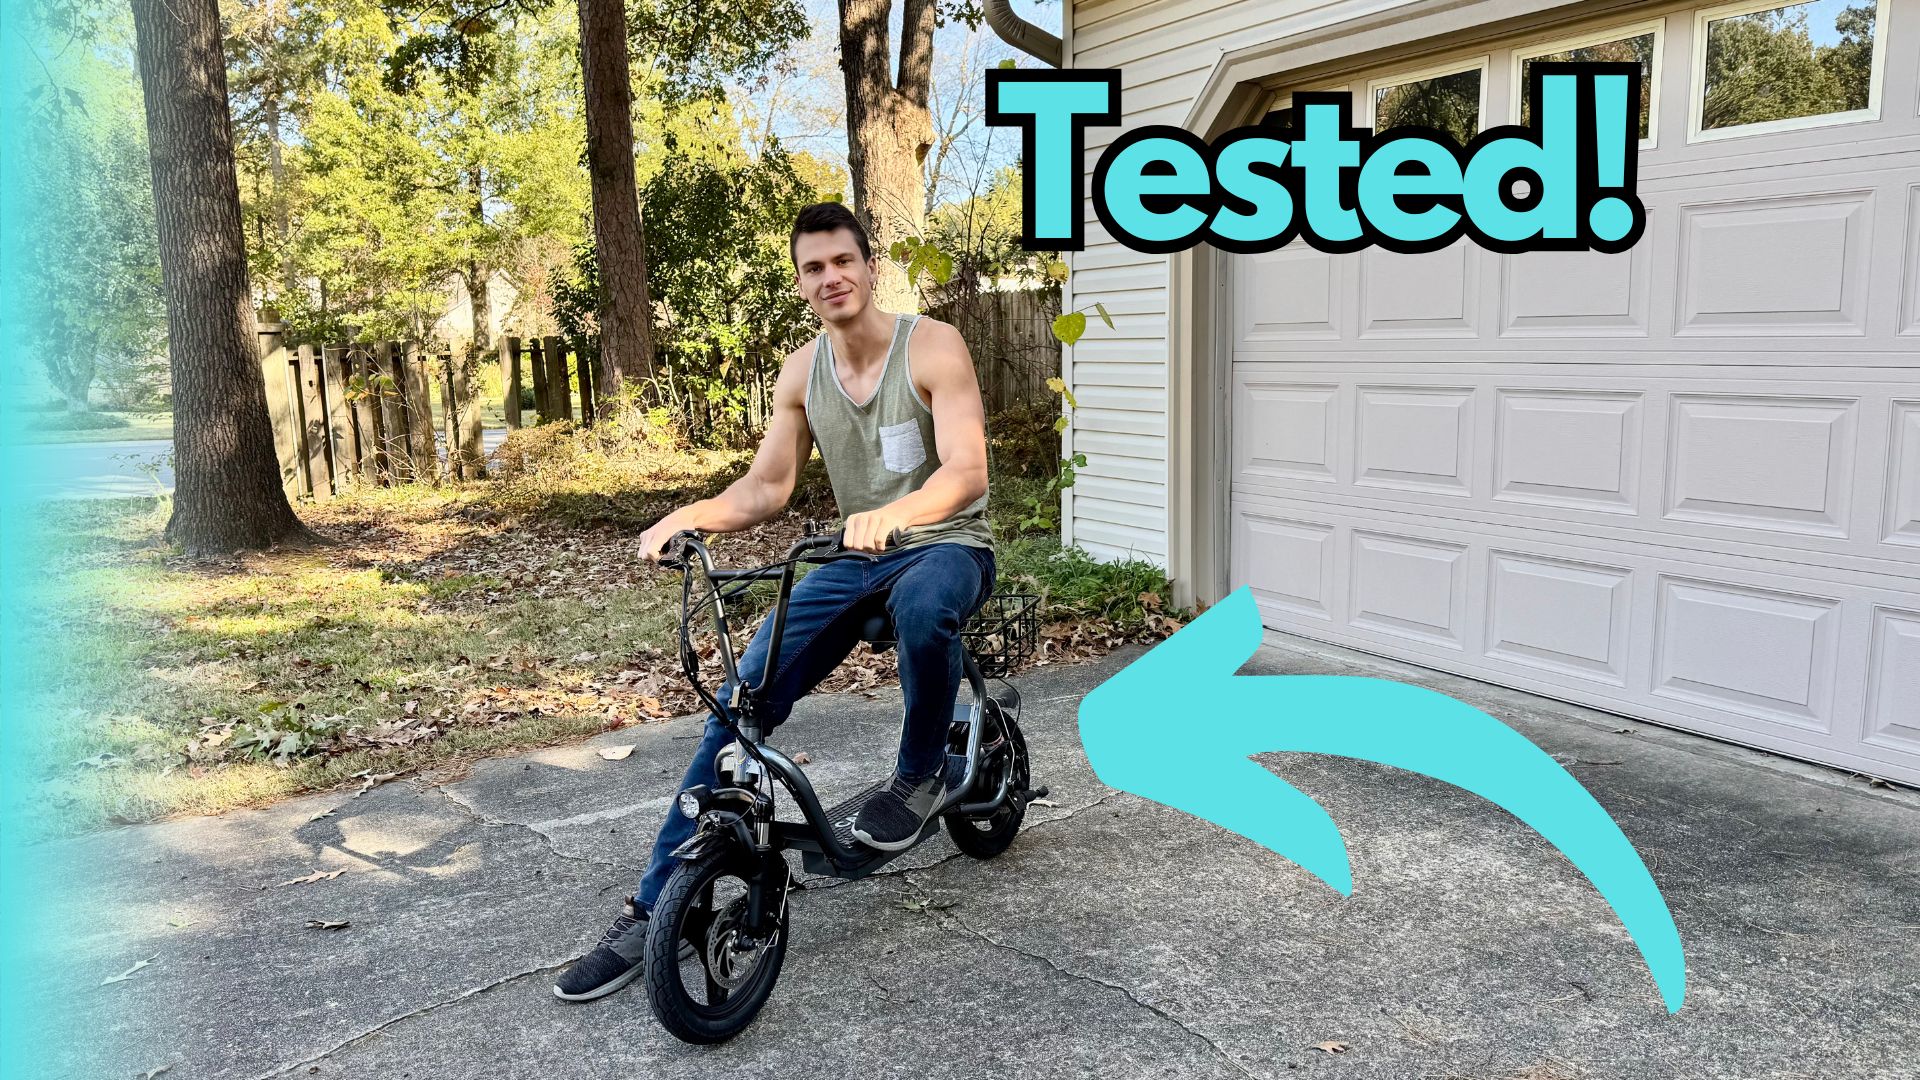
Figure 3: Charging Port and Ignition Key (Illustrative)
6. Tausiga
- Fa'amamaina: Tape i lalo le scooter i fa'asalalaugaamp ie. Aua le fa'aogaina le vai maualuga pe fa'atofu le scooter i le vai.
- Pa'u: Ia siaki e le aunoa le mamafa o pa'u ma fa'afefe pe a mana'omia. Su'e pa'u po'o masaesae.
- taofi: Periodically check brake pads and cables for wear. Adjust brake tension to ensure responsive braking.
- Tausiga maa: Store the scooter in a cool, dry place. If storing for extended periods, charge the battery to 50-70% and recharge every 2-3 months.
- Fa'amau: Ia siaki i lea taimi ma lea taimi sikulima, poloti ma masini e vave ona tatala ina ia mautinoa o loo mau lelei ma mautu.
7. Faʻafitauli
| Fa'afitauli | Mafuaaga e ono tupu | Fofo |
|---|---|---|
| E le ola le Scooter | Battery is low or dead; Ignition key not in ON position | Charge the battery; Turn the ignition key to ON |
| E le fa'aogaina le afi | Throttle issue; Loose connection | Check throttle for obstruction; Inspect all cable connections |
| Brakes feel loose | Brake cable tension is low; Worn brake pads | Adjust brake cable tension; Replace brake pads |
| Fa'aitiitia le va'aiga/saosaoa | Low tire pressure; Battery degradation; Heavy load | Inflate tires to recommended PSI; Consult support for battery check; Reduce load |
8. Fa'amatalaga
| Fa'aaliga | Fa'amatalaga |
|---|---|
| Fa'ailoga | Karoma |
| Fa'ata'ita'iga | D1 (B0FSZZL7PR) |
| Malosiaga afi | 800W (Rated) / 1200W (Peak) |
| Avanoa Max | E oo atu i le 30 maila |
| Max Saosaoa | Up to 20 Mph |
| Tele Pa'u | 14-inch Fat Tires |
| Faiga taofi | Fa'a Masani Fa'amau Fa'alua |
| Fa'amalologa | Taofia le tumau |
| Avanoa Max | 300 pauna (136 kilokalama) |
| Vaega | Foldable, Seat, Carry Basket, Headlight, Tail Light |
9. Fa'amaonia ma Lagolago
For warranty information, technical support, or service inquiries, please refer to the warranty card included with your product or visit the official Caroma webnofoaga. Taofi lau lisiti fa'atau e fai ma fa'amaoniga o le fa'atau.
Caroma Store: Visit the Caroma Store on Amazon
Ask a question about this manual
Ask about setup, troubleshooting, compatibility, parts, safety, or missing instructions. Manuals+ will review the question and use this page’s manual context to help answer it.