

Folasaga
This manual provides essential information for the safe and efficient operation of your Philips PLD2030P7 DVD Player. Please read these instructions thoroughly before using the device and retain them for future reference.
1. Seti
1.1 Tatalaina
Aveese ma le faaeteete vaega uma mai le afifiina. Ia mautinoa o mea uma o loʻo lisi atu i lalo o loʻo iai:
- Philips PLD2030P7 DVD Player
- Pulea Mamao
- Uaea HDMI
- Uaea RCA
1.2 Feso'ota'i ile Televise
The Philips PLD2030P7 DVD Player offers both HDMI and RCA connections for video and audio output.
HDMI Connection (Recommended for HD TVs)
- Connect one end of the HDMI cable to the HDMI OUT port on the DVD player.
- Connect the other end of the HDMI cable to an available HDMI IN port on your television.
- Select the corresponding HDMI input on your television using its remote control.
Illustration of the HDMI connection process, highlighting the 1080P upconversion capability from 480P resolution.
RCA Connection (For older TVs or alternative audio)
- Connect the red, white, and yellow RCA plugs from the RCA cable to the corresponding color-coded AV OUT jacks on the DVD player.
- Connect the other end of the RCA cable to the matching color-coded AV IN jacks on your television or home stereo system.
- Select the corresponding AV input on your television or stereo system.

Visual guide to various connection types, including HDMI for Smart TVs, projectors, and monitors, and RCA for older TVs, speakers, soundbars, amplifiers, and tuners.
1.3 Malosiaga
After connecting the player to your TV, plug the power cord into an electrical outlet. Press the Power button on the front panel or the remote control to turn on the DVD player.
1.4 Region Free Setup Guide
This DVD player supports multiple regions (1,2,3,4,5,6). To adjust region settings:
- Connect your DVD player to a TV.
- Ensure no disc is in the compartment, or press the TATAU/TATAU button to eject the disc tray. The TV screen should display 'NO DISC'.
- Using the remote control, input the number "5168" to access the Super Setup Mode.
- Oomi le UP button to highlight "REGION". Press the TAUAGAVALE button to highlight the region code. Press the UP button to highlight "TEST 0". Press the Ulufale faamau e faamaonia ai.
- Tusitala SETI e alu ese.
Visual instructions detailing the process to configure the DVD player for region-free playback, including remote control input and screen prompts.
2. Fa'atonuga o Galuega
2.1 Toe ta'alo tisiki
The Philips PLD2030P7 is compatible with CD, (S),VCD,DVD,DVD+R/RW,DVD-R/RW, or MP3 discs.
- Oomi le TATAU/TATAU faamau e tatala ai le fata tisiketi.
- Tuu lemu se tisiketi i luga o le fata ma le itu o le igoa e faasaga i luga.
- Oomi le TATAU/TATAU button again to close the tray. The player will automatically begin playback or display a disc menu.
- Use the remote control to navigate menus and control playback (Play, Pause, Stop, Skip, Fast Forward/Rewind).
2.2 Ta'aloina o Ala o Faasalalauga USB
The player supports media playback from USB devices for JPEG, MP3, and MP4 files.
- Insert your USB device into the USB port on the front of the DVD player.
- The player should automatically detect the USB device and display a media browser. If not, press the USB faamau i le pule mamao.
- Fa'asaga i lau files using the remote control and press TALI or Ulufale e amata toe ta'alo.

Demonstration of the USB input functionality, illustrating how to connect a USB device and the supported media formats including video (AVI, DIVX, MPG, MPEG, VOB), images (JPG), and music.
2.3 Screen Fit Feature
To optimize the picture to fill your screen, press the Fa'asagaga Mata button on the remote control during playback. This feature adjusts the aspect ratio to match your display.
2.4 Audio and Video Quality
The player features a 10-bit/108 MHz video DAC for superior picture quality and a built-in Dolby decoder chip for immersive audio.

Visual representation emphasizing the DAC/Dolby audio technology, which provides an immersive audio experience.

Description of the 10-bit/108 MHz video processing, ensuring sharp and natural images.
3. Tausiga
3.1 Fa'amamaina o le Vaega
To clean the exterior of the DVD player, use a soft, dry cloth. Do not use liquid or aerosol cleaners, as they may damage the finish. Ensure the unit is unplugged before cleaning.
3.2 Tausiga Tisiki
Handle discs by their edges to avoid fingerprints. Store discs in their cases when not in use to prevent scratches and dust accumulation. Clean discs with a soft, lint-free cloth, wiping from the center outwards.
4. Faʻafitauli
If you encounter issues with your DVD player, refer to the following common problems and solutions:
| Fa'afitauli | Mafuaaga e ono tupu | Fofo |
|---|---|---|
| Leai se mana | Ua le feso'ota'i; Ua le ola le paoa | Ensure power cord is securely plugged in; Test outlet with another device |
| Leai se ata ile TV | Incorrect input selected on TV; Loose video cable connection | Select correct HDMI/AV input on TV; Check HDMI/RCA cable connections |
| Leai se leo | TV/receiver volume too low; Loose audio cable connection | Increase volume; Check HDMI/RCA audio cable connections |
| Le ta'alo tisiki | Disc is dirty or scratched; Incorrect disc type; Region code mismatch | Clean disc; Ensure disc is compatible (DVD, CD, VCD); Verify region settings (refer to 1.4) |
| E le o galue le pule mamao | Batteries are dead or inserted incorrectly; Obstruction between remote and player | Replace batteries; Ensure correct polarity; Remove obstructions; Point remote directly at player |
5. Fa'amatalaga
Below are the technical specifications for the Philips PLD2030P7 DVD Player:
| Fa'aaliga | Fa'amatalaga |
|---|---|
| Fa'ailoga | Philips |
| Igoa Fa'ata'ita'iga | PLD2030P7 |
| Ituaiga Media | CD, DVD, VCD |
| Fa'apitoa Fa'apitoa | Compact, Progressive Scan |
| I'ugafono | 1280x800 (Internal processing), Video Output: 1080p |
| Ituaiga Feso'ota'i | HDMI |
| Tekinolosi Feso'ota'i | HDMI |
| Lanu | Lanu uliuli |
| Mea mamafa | 2.3 pauna |
| Leo Faʻalauiloa Galuega | Si'osi'omia |
| Lagolagoina leo leo | Dolby Digital |
| Fa'atonuga alavai leo si'o | 5.1 |
| Total Number of HDMI Ports | 1 |
| Video Encoding | MPEG-2 |
| Masini Fegalegaleai | AV Receiver, Home Stereo System, Television |
| File Format (USB) | JPEG, MP3, MP4 |
| Fa'asalalau Fa'atasi | DVD Player, HDMI Cable, RCA Cable, Remote Control |
| UPC | 850041387796 |
| ASIN | B0F4F53JSS |
| GTIN | 850041387796 |

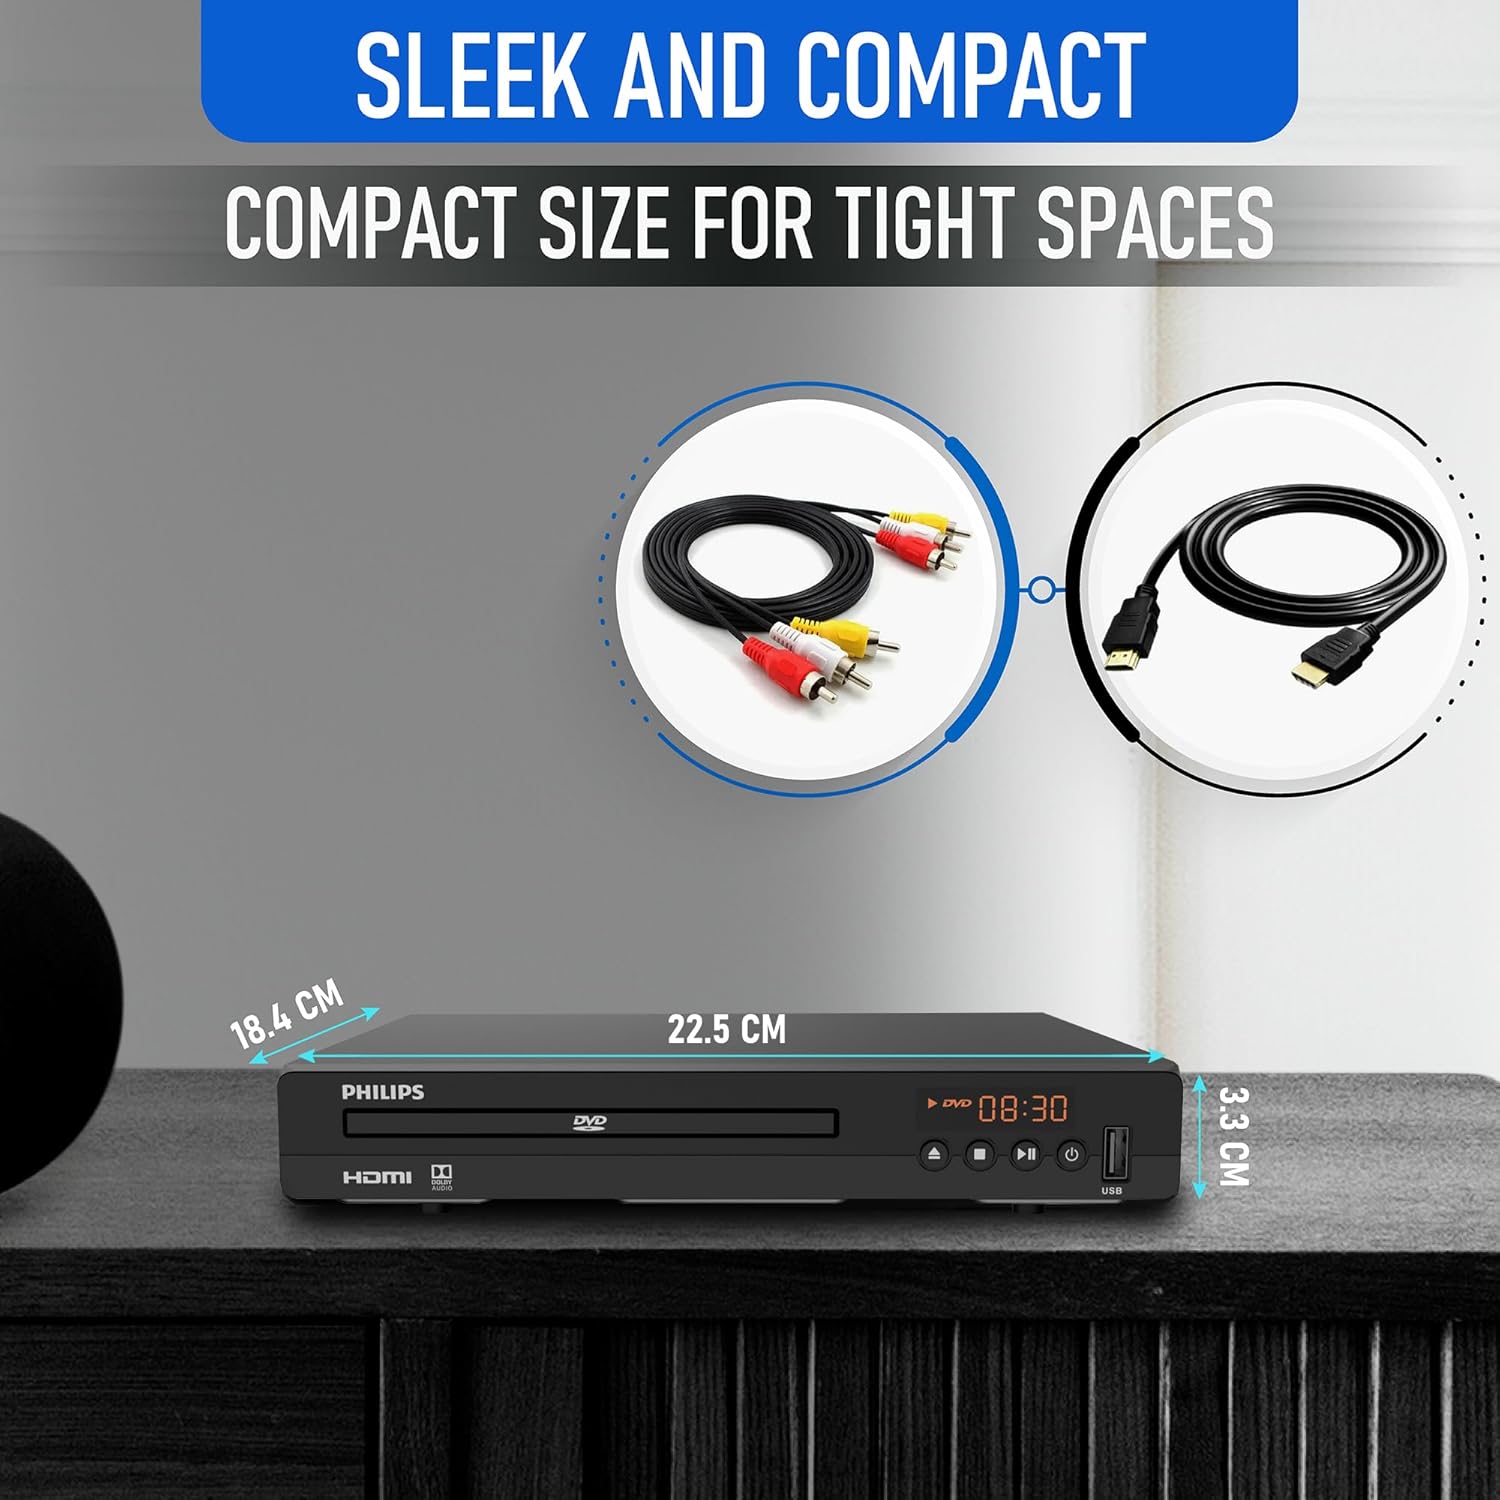
Diagram illustrating the compact dimensions of the DVD player: 22.5 cm (width), 18.4 cm (depth), and 3.3 cm (height).
6. Fa'amatalaga Fa'amaonia
For detailed warranty information, please refer to the warranty card included in your product packaging or contact Philips customer support. The manufacturer's warranty covers defects in materials and workmanship under normal use.
7. Lagolago Tagata Fa'atau
If you require further assistance or have questions not covered in this manual, please contact Philips customer support through their official webnofoaga po'o fa'amatalaga fa'afeso'ota'i o lo'o tu'uina atu i lau fa'amaumauga o oloa.