1. Folasaga
Fa'afetai mo le fa'atauasing the IRRADIO VDP-4600HDW LCD/LED Projector. This manual provides essential information for the safe and efficient operation of your device. Please read it thoroughly before use and retain it for future reference.
2. Faatonuga Saogalemu
- Aua le poloka avanoa e fa'aoso ai le ea. Ia mautinoa e lava le tafe o le ea i tafatafa o le masini fa'ata'ita'i e puipuia ai le soona vevela.
- Aua le tilotilo sa'o i totonu o le tioata o le masini komepiuta pe a lamp o lo'o ola, aua o le malamalama susulu e mafai ona afaina ai mata.
- Keep the projector away from water or other liquids. Do not operate in damp po o tulaga susu.
- Fa'aaoga na'o le mea fa'apipi'i eletise o lo'o tu'uina atu ma le masini masini.
- Aua le taumafai e toe faaleleia oe lava le projector. Ia faasino atu uma auaunaga i tagata agavaa.
- Place the projector on a stable, level surface to prevent it from falling.
3. Mea i totonu o le afifi
Fa'amolemole siaki pe o iai uma mea i totonu o lau afifi:
- IRRADIO VDP-4600HDW Projector
- Pulea Mamao
- Uaea Malosi
- Uaea HDMI
- AV uaea
- Tusi Taiala
4. Oloa Ua Ovaview
4.1. Projector Components

Ata 4.1: Aotelega view of the IRRADIO VDP-4600HDW Projector. This image displays the projector from an angled perspective, highlighting its compact design and the lens on the front left side, with ventilation grilles and control buttons visible on the top and sides.

Ata 4.2: Luma view of the projector. This image focuses on the large projection lens on the left, with the IRRADIO logo and ventilation grilles on the right side of the front panel.

Ata 4.3: Tua view of the projector. This image shows the VGA port, focus adjustment knob, and keystone correction knob on the rear panel, along with additional ventilation.
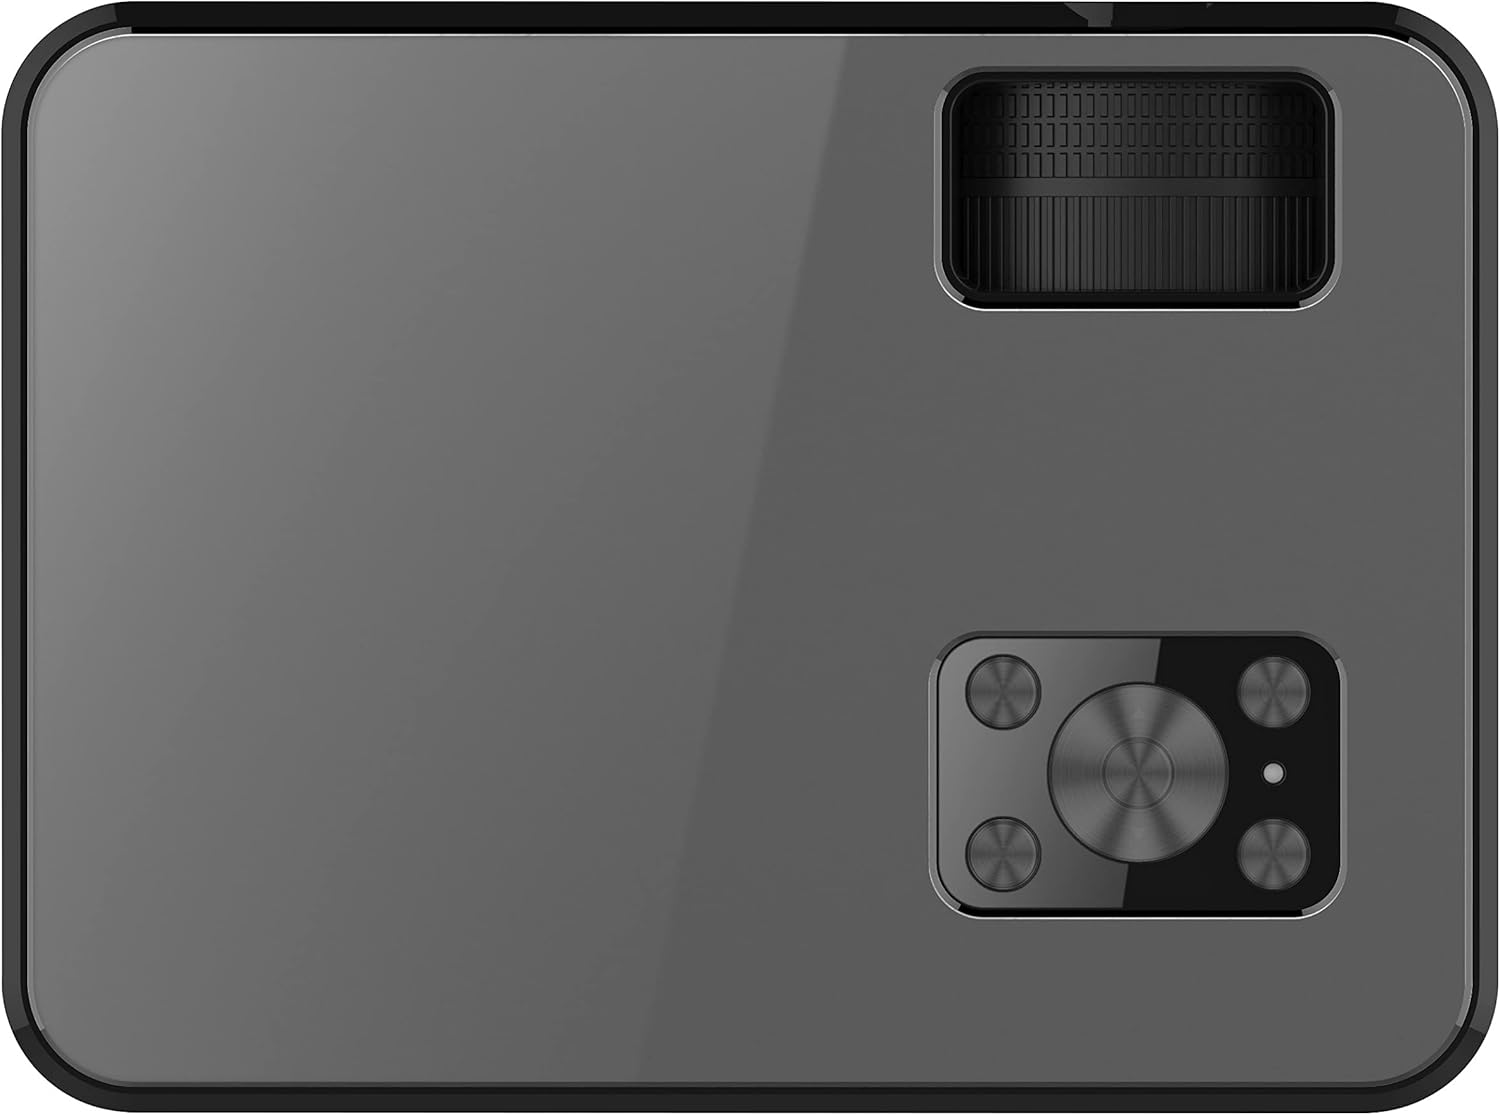
Ata 4.4: Luga view of the projector. This image displays the control panel with navigation buttons (up, down, left, right, OK), source, menu, and exit buttons, along with the power button and volume controls.

Ata 4.5: Itu view of the projector showing input/output ports. This image highlights two HDMI ports, AV input, two USB ports, and a 3.5mm headphone jack (audio out).

Ata 4.6: Faafeagai itu view of the projector. This image shows the power input port and additional ventilation grilles.

Ata 4.7: Lalo view of the projector. This image displays the mounting points for ceiling installation and rubber feet for stable placement on a flat surface.
4.2. Pulea Mamao
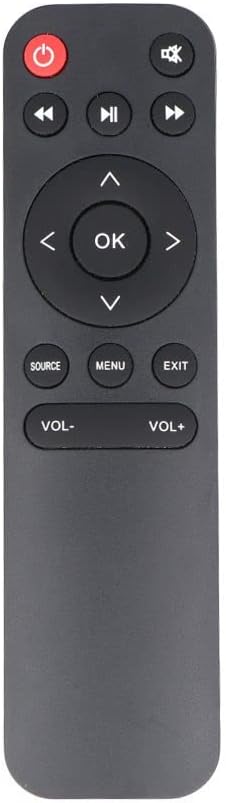
Ata 4.8: The remote control for the IRRADIO VDP-4600HDW Projector. It features buttons for power, mute, navigation (up, down, left, right, OK), source selection, menu, exit, and volume control.
4.3. Ports and Controls Overview
- Ki Malosi: Ki / tape le masini masini.
- Mata tioata: Fa'atino le ata.
- Mama taulaʻi: Adjusts image clarity.
- Fa'asa'oga ma'a 'au'au: Adjusts image distortion.
- Taulaga HDMI (x2): Connect to HDMI-enabled devices (laptops, gaming consoles, Blu-ray players).
- Taulaga USB (x2): Fa'afeso'ota'i ta'avale USB mo le toe fa'afo'i fa'asalalauga.
- VGA Taulaga: Connect to computers with VGA output.
- Uafu AV: Connect to older devices using composite video.
- 3.5mm leo i fafo: Fa'afeso'ota'i sipika i fafo po'o mea fa'alogo.
- IR faataapeina meatotino: Mo faailoilo o le pulea mamao.
5. Seti
5.1. Tuuina
Place the projector on a stable, flat surface or mount it to the ceiling. Ensure the projector is positioned directly in front of the projection screen or wall. The optimal projection distance ranges from 1.52 meters to 3.48 meters, yielding a screen size between 50 and 120 inches.
- Front Projection: Place the projector in front of the screen.
- Rear Projection: Place the projector behind a translucent screen.
- Mauga fa'afale: The projector can be inverted and mounted to the ceiling. Adjust settings in the OSD menu for inverted projection.
5.2. So'oga Malosi
- Fa'afeso'ota'i le uaea eletise i le uafu e ulufale ai le eletise o le projector.
- Plug the other end of the power cable into a standard electrical outlet (220V AC, 50Hz).
- Oomi le faamau paoa i luga o le masini fa'ata'ita'i po'o le mea fa'atonutonu mamao e fa'aola ai.
5.3. Fetuunaiga o le Taula'i ma le Keystone
- Ki le masini komepiuta ma fa'aali se ata.
- Liliu le Mama Taulai (located near the lens) until the image appears sharp and clear.
- Fetuunai le Faasaʻoaʻo Maaʻauʻau knob (located on the rear panel) to correct any trapezoidal distortion, making the image rectangular.
6. Faʻagaioiga
6.1. Malosi / Malosi
Oomi le faamau paoa i luga o le projector poʻo le remote control e ki pe tape ai le masini.
6.2. Filifiliga Punaoa Ulufale
A uma ona ola, oomi le PUNA button on the remote control or the projector's control panel to cycle through available input sources (HDMI1, HDMI2, USB1, USB2, VGA, AV).
6.3. Feso'ota'i Meafaigaluega i fafo
- HDMI: Connect an HDMI cable from your device (e.g., laptop, game console) to one of the projector's HDMI ports. Select the corresponding HDMI input.
- VGA: Connect a VGA cable from your computer to the projector's VGA port. Select the VGA input.
- O: Use the provided AV cable to connect to devices with composite video output. Select the AV input.
- USB: Insert a USB flash drive into a USB port. The projector's media player interface will appear automatically or can be accessed via the source menu.
6.4. Fa'asalalauga Ta'alo (USB)
The integrated media player supports various formats:
- Fa'asologa o Ata: JPEG, BMP, PNG, MPO
- Ata Vitio: MPEG1, MPEG2, H.263, H.264, AVS, MJPEG, RV30, RV40, HEVC
- Fa'atonu leo: MPEG1, MPEG2, LPCM, MP3
Fa'asaga i totonu files using the remote control's arrow keys and press OK e filifili.
6.5. Wireless Audio Connection
The projector features an integrated wireless audio function for connecting to external audio devices. Refer to the on-screen display (OSD) menu for specific pairing instructions. Typically, you will need to enable the wireless audio feature in the projector's settings and then pair it with your desired external speaker or headphone.
7. Tausiga
7.1. Fa'amama tioata
Use a soft, lint-free cloth and a specialized lens cleaning solution to gently wipe the lens. Avoid abrasive materials or excessive pressure.
7.2. Fa'amamaina o le Fa'amama o le Efuefu
Regularly check and clean the dust filters to ensure optimal airflow and prevent overheating. Use a soft brush or a vacuum cleaner with a brush attachment to remove dust from the ventilation grilles.
7.3. Teuina
When not in use for extended periods, store the projector in a cool, dry place, protected from dust and direct sunlight. Use the original packaging or a protective case.
8. Faʻafitauli
- Leai se Malosi: Ia mautinoa o lo'o feso'ota'i lelei le uaea eletise ma o lo'o fa'aogaina le so'o.
- Leai se Ata: Check the input source selection. Ensure the connected device is powered on and sending a signal. Verify cable connections.
- Ata faanenefu: Adjust the focus ring. Ensure the projection distance is within the optimal range.
- Image Distorted: Fetuunai le faasa'oga ma'a'au'au.
- Leai se leo: Check the volume settings on both the projector and the connected device. If using external speakers, ensure they are properly connected or paired via wireless audio.
- Pulea mamao e le o galue: Replace the batteries. Ensure there are no obstructions between the remote and the projector's IR receiver.
9. Fa'amatalaga
| Fa'aaliga | Fa'amatalaga |
|---|---|
| Faiga Fuafuaga | LCD panel with LED light source |
| I'ugafono a le Atunu'u | 1920x1080 (Atoa HD 1080p) |
| Fa'atusatusaga Fa'atusatusaga Dynamic | 2000:1 |
| Light Source Brightness | 3000 lumens |
| TAITAIINA Lamp Olaga | 50,000 itula |
| Mata tioata | Taulai tusilima |
| Galuega Fa'alogo leo | Tuufaatasi |
| Feso'ota'i | 2x HDMI, 2x USB, VGA, AV Composite, 3.5mm Headphone Jack (output) |
| Ituaiga Fa'atatau | 16:9 Native / 4:3 Compatible |
| Fuafuaga sili ona lelei | 50" - 120" |
| Mamao Fuafuaga Lelei | 1.52m i le 3.48m |
| Faiga Fuafuaga | Front, Rear, Ceiling (Front/Rear) |
| Leo | 1x 3W Hi-Fi Speaker |
| Faiga malulu | Fa'amalo lua |
| Gagana OSD | 23 gagana |
| Paoa sapalai | 220V AC 50Hz (single phase) |
| mamafa | 1.4 kilokalama |
| Fua (W x H x D) | 222 x 91 x 173 mm |
10. Fa'amaonia ma Lagolago
Information regarding specific warranty terms and support contacts is not available in the provided product data. Please refer to the product packaging or the retailer's webnofoaga mo faʻamatalaga faʻamaonia ma faʻamatalaga lagolago tagata faʻatau.