Intel NUC11BTMi9
Tusitaiala mo le Tagata Fa'aoga o le Intel NUC 11 Extreme Kit NUC11BTMi9 Gaming Barebone System
Fa'ata'ita'iga: NUC11BTMi9 | Fa'ailoga: Intel
Ua Umaview
The Intel NUC 11 Extreme Kit (NUC11BTMi9) is a high-performance barebone mini PC designed for gaming and demanding applications. It offers uncompromised performance within a compact form factor, allowing users to customize it with their preferred RAM, storage, and operating system.

Ata 1: Fa'aitu pito i luma view of the Intel NUC 11 Extreme Kit, showcasing its compact design and the illuminated skull logo.
O mea o lo'o i totonu
Ia fa'amaonia o lo'o i totonu o le afifi mea uma a'o le'i fa'aauauina le setiina:
- Intel NUC 11 Extreme Kit (NUC11BTMi9) Barebone System
- US Power Cord
- Fa'amaumauga (Taiala Amata vave, Fa'amatalaga Saogalemu)
Note: Additional components such as RAM, storage drives, and operating system are sold separately and are required for full system functionality.
Seti Taiala
This section outlines the steps required to set up your Intel NUC 11 Extreme Kit. As a barebone system, it requires the installation of memory (RAM) and storage (SSD) before initial use.
1. Fa'apipi'iina o le Manatua (RAM)
- Unscrew and remove the top cover of the NUC chassis.
- Locate the DDR4 SO-DIMM slots on the motherboard.
- Align the notch on the SO-DIMM module with the notch in the slot.
- Insert the module at a 45-degree angle and press down firmly until the retaining clips snap into place.
- Repeat for additional memory modules if applicable.
2. Installing Storage (SSD)
The NUC 11 Extreme Kit supports M.2 NVMe SSDs.
- Saili avanoa M.2 i luga o le motherboard.
- Fa'aofi le M.2 SSD i totonu o le avanoa i se tulimanu.
- Oomi mālie i lalo le SSD ma fa'amau i le sikuliu ua saunia.
- The system also supports Serial ATA/600 interface for additional storage options.
3. Feso'ota'i Peripherals
Connect your monitor, keyboard, mouse, and other peripherals to the appropriate ports. The system features 12 USB ports for extensive connectivity.
Ata 2: Tua view of the Intel NUC 11 Extreme Kit, highlighting the array of input/output ports for connecting external devices.
- Fa'aaliga: Connect your monitor using HDMI or DisplayPort.
- Meafaigaluega USB: Use the available USB ports for keyboard, mouse, external drives, etc.
- Fesootaiga: Connect an Ethernet cable for wired network access, or use the integrated Wi-Fi.
- Leo: Fa'afeso'ota'i sipika po'o headphone i le jacks audio.
4. So'oga Malosi
Connect the provided power cord to the NUC and then to a power outlet.
5. Fa'apipi'i Fa'atonuga
Once RAM and storage are installed, you will need to install an operating system (e.g., Windows 10, Linux) from a bootable USB drive or disc.
Fa'atonuga o Galuega
This section provides basic instructions for operating your Intel NUC 11 Extreme Kit.
Malosiaga Ki/Pepe
- Malosiaga: Oomi le ki o le mana o lo'o i luma o le iunite. O le a fa'amumuina le moli fa'ailoga malosi.
- Tapē le eletise:
- Tapuni Masani: Use the operating system's shutdown function.
- Tapuni Fa'amalosi: Press and hold the power button for 5-10 seconds until the unit powers off. Use this only as a last resort.

Ata 3: Luma view of the Intel NUC 11 Extreme Kit, showing the power button and front panel connectivity options.
Feso'ota'i masini USB
The NUC 11 Extreme Kit offers numerous USB ports (up to 12) for connecting various peripherals. Devices can be connected or disconnected without needing to shut down the system.
BIOS/UEFI Access
To access the BIOS/UEFI settings, power on the system and repeatedly press the F2 key during startup. This allows configuration of boot order, system settings, and hardware diagnostics.
Tausiga
Proper maintenance ensures the longevity and optimal performance of your Intel NUC 11 Extreme Kit.
- Fa'amamaina: Regularly clean the exterior with a soft, dry cloth. Use compressed air to clear dust from vents and fan areas to ensure proper airflow and prevent overheating. Ensure the system is powered off and unplugged before cleaning.
- Fa'afouga polokalame: Keep your operating system, drivers, and BIOS/UEFI firmware updated to the latest versions. Visit the official Intel support website for driver downloads specific to the NUC11BTMi9 model.
- Savili: Ensure the NUC is placed in a well-ventilated area, away from direct sunlight or heat sources. Do not block the ventilation openings.
- Fa'amaumauga Fa'amaumauga: Fai se kopi tumau o faʻamaumauga taua i se taʻavale fafo poʻo se teuina i le ao (cloud storage) e puipuia ai le leiloa o faʻamaumauga.
Fa'afitauli
This section provides solutions to common issues you might encounter with your Intel NUC 11 Extreme Kit.
Leai se Malosi / System e le ki
- Ensure the power cord is securely connected to both the NUC and a working power outlet.
- Fa'amautinoa o lo'o fa'aogaina le so'o eletise e ala i le fa'apipi'i i se isi masini.
- If using a power strip or surge protector, ensure it is switched on.
Leai se Fa'aaliga Fa'aaliga
- Check that the monitor is powered on and the video cable (HDMI/DisplayPort) is securely connected to both the NUC and the monitor.
- Taumafai i se isi uaea vitio po'o se isi mata'itu pe a maua.
- Ensure RAM modules are properly seated in their slots. Reseat them if necessary.
System Freezes or Crashes
- Ensure the system has adequate ventilation and is not overheating.
- Update your operating system and device drivers to the latest versions.
- Fa'agaoioi se meafaigaluega e su'esu'e ai le manatua e siaki ai fa'afitauli o le RAM.
- Check the health of your storage drive.
Peripheral Le Maua
- Taumafai e fa'afeso'ota'i le peripheral i se isi uafu USB.
- Ia mautinoa ua fa'apipi'i ma ua fa'afouina aveta'avale o le peripheral.
- Toe amata le faiga.
Fa'amatalaga Fa'apitoa
Below are the key technical specifications for the Intel NUC 11 Extreme Kit (NUC11BTMi9).

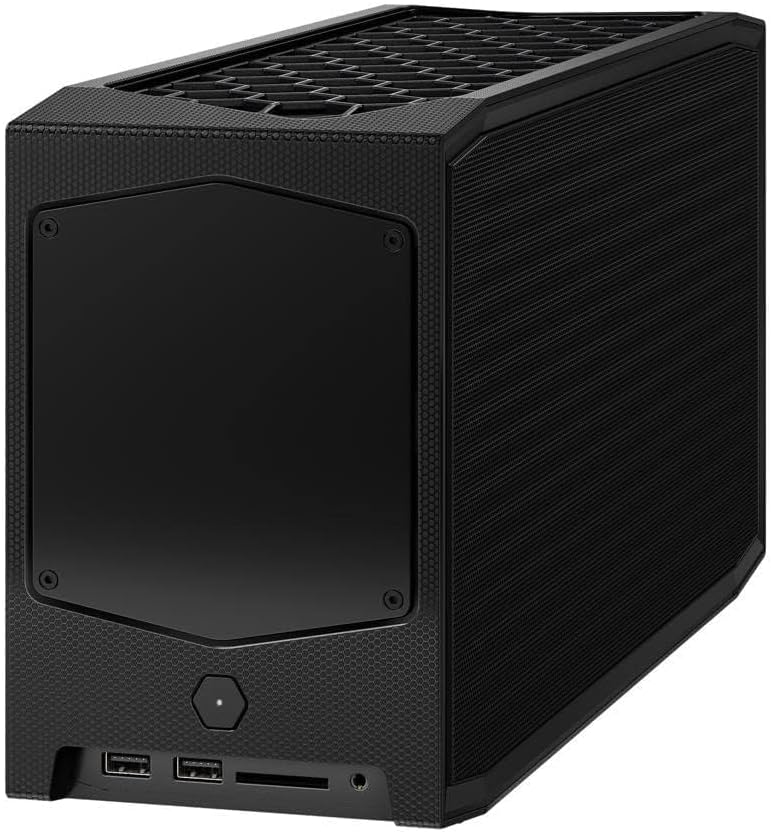
Ata 4: Itu view of the Intel NUC 11 Extreme Kit, illustrating its physical dimensions.
| Fa'aaliga | Fa'amatalaga |
|---|---|
| Numera Fa'ata'ita'i | NUC11BTMi9 |
| Processor | Intel Core i9-11900KB Octa-core (8 Core) @ 3.3 GHz |
| Memory (RAM) Type | DDR4 SDRAM (Barebone - user installable) |
| Fetufa'aiga Fa'amaumauga | M.2 (SSD), Serial ATA/600 |
| Ata fa'akomepiuta | Intel UHD Graphics |
| Ata Fa'ata'ita'i Laoa Lamo | 8 GB (Integrated) |
| Feso'ota'iga uaealesi | Bluetooth, WiFi |
| Taulaga USB | 12 |
| Operating System (Pre-installed) | None (Supports Windows 10) |
| Mea mamafa | 5 pauna |
| Fuafuaga Mea | 21.1 x 15 x 13.6 inisi |
| Lanu | Lanu uliuli |
| Muamua Aso Avanoa | Oketopa 13, 2021 |
Fa'amaonia ma Lagolago
Intel provides a limited warranty for its NUC products. For detailed warranty information, technical support, driver downloads, and troubleshooting resources, please visit the official Intel support webnofoaga.
You can typically find support by searching for "Intel NUC support" or by visiting Intel's Official Support Page.
When contacting support, please have your product model number (NUC11BTMi9) and serial number ready.
Ask a question about this manual
Ask about setup, troubleshooting, compatibility, parts, safety, or missing instructions. Manuals+ will review the question and use this page’s manual context to help answer it.