1. Folasaga
This manual provides essential instructions for the safe and efficient assembly, setup, and maintenance of your Sealey SM3002ST Lathe Stand. This stand is designed to provide stable support for Sealey metalworking lathes and mill/drills, specifically models SM3002, SM2502, and SM2503. Please read this manual thoroughly before assembly and use, and retain it for future reference.
2. Faatonuga Saogalemu
Ia usita'i i taimi uma puipuiga saogalemu nei e puipuia ai manu'aga patino ma le fa'aleagaina o masini.
- Faitau faatonuga uma: Familiarize yourself with the stand's components and assembly steps before beginning.
- Laufanua mautu: Ensure the stand is assembled and placed on a level, stable, and non-slip surface capable of supporting the combined weight of the stand and the machine mounted on it.
- Fonotaga Talafeagai: Assemble the stand strictly according to the instructions provided. Do not modify the stand in any way.
- Fa'amauga malu: Always ensure the lathe or mill/drill is securely fastened to the stand using appropriate hardware.
- Malosiaga: Do not exceed the recommended weight capacity of the stand. Refer to the specifications section.
- Fa'amanino Vaega o Galuega: Keep the area around the stand clear of obstructions and debris.
- Tamaiti ma tagata o lo'o va'aia: Taofi tamaiti ma tagata e le fa'atagaina mai le nofoaga faigaluega.
3. Mea i totonu o le afifi
Aveese ma le faaeteete vaega uma ma siaki le lisi o loʻo i lalo. Afai o iai ni vaega o lo'o misi pe fa'aleagaina, fa'afeso'ota'i vave lau fa'atau oloa.
- Sealey SM3002ST Lathe Stand components (legs, cross-members, sliding tool shelf, hardware)
Image 3.1: Sealey SM3002ST Lathe Stand
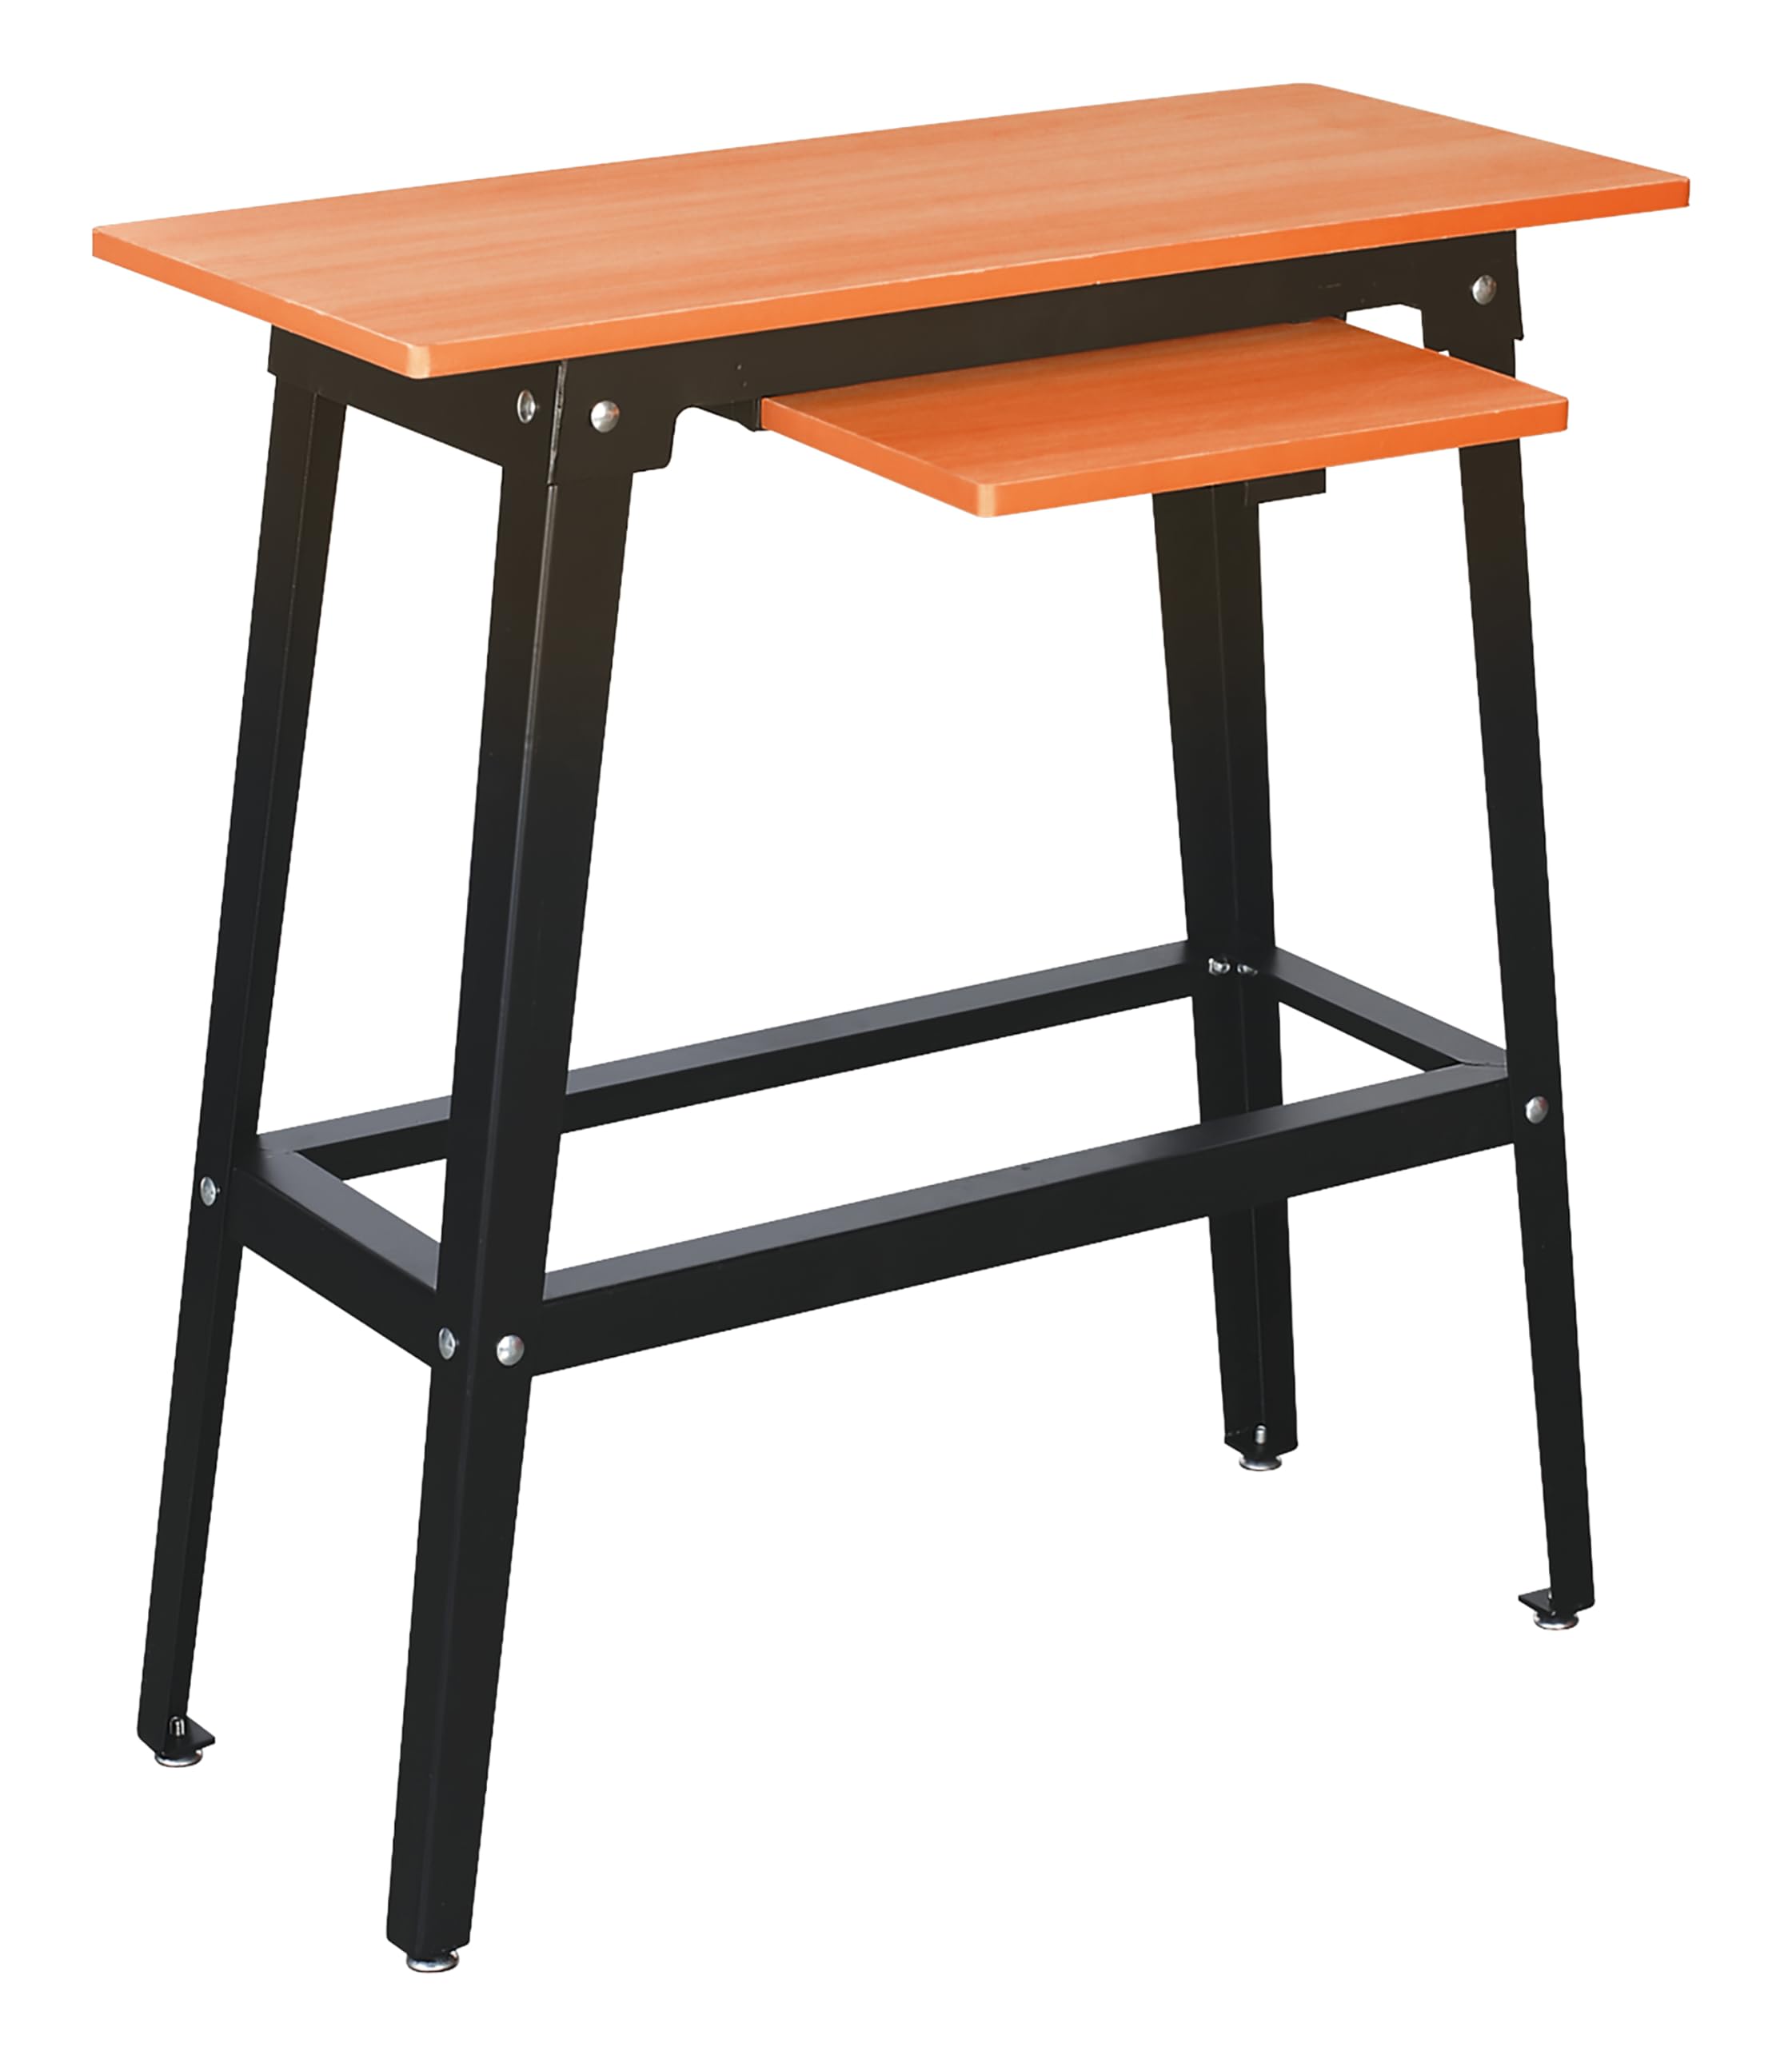
O se fa'apotopotoga view of the Sealey SM3002ST Lathe Stand, showing its robust construction and design.
4. Fonotaga
Follow these steps to assemble your Sealey SM3002ST Lathe Stand.
4.1. Meafaigaluega Manaomia
- Seti Fa'amau po'o Socket Set
- Screwdriver (if applicable for shelf attachment)
4.2. Laasaga Fono
- Identify all components: legs, cross-members, sliding tool shelf, and all fasteners (bolts, nuts, washers).
- Attach the lower cross-members to the legs. Ensure all bolts are finger-tight at this stage.
- Attach the upper cross-members to the legs. Again, keep bolts finger-tight.
- Once all structural components are in place, carefully stand the frame upright.
- Diagonally tighten all bolts securely. Do not overtighten.
- Install the sliding tool shelf onto its designated runners or brackets. Ensure it slides smoothly.
- Verify that the stand is stable and all connections are secure before proceeding to setup.
5. Seti
Proper placement and securing of your machine are crucial for safe operation.
5.1. Stand Placement
- Choose a location with adequate space around the stand for safe operation of the lathe or mill/drill.
- Ensure the floor is level and capable of supporting the total weight.
- If necessary, use shims to level the stand.
5.2. Attaching the Lathe/Mill/Drill
- Carefully lift your Sealey SM3002, SM2502, or SM2503 machine onto the top surface of the stand. It is recommended to have assistance for this step due to the weight of the machines.
- Align the mounting holes on the machine with the corresponding holes on the stand's top plate.
- Secure the machine to the stand using appropriate bolts, washers, and nuts (not supplied with the stand, typically provided with the machine). Ensure all fasteners are tightened securely to prevent movement during operation.
6. Faʻagaioiga
The SM3002ST stand provides a stable base and convenient storage for your metalworking machine.
6.1. Sliding Tool Shelf
- The integrated sliding tool shelf offers convenient storage for tools, accessories, and small parts within easy reach during operation.
- Ensure that items placed on the shelf do not interfere with the operation of the machine or create a hazard.
- Aua le soona fa'atumu le fata.
7. Tausiga
Regular maintenance will ensure the longevity and safe operation of your stand.
- Fa'amamaina: Wipe down the stand regularly with a clean, damp ie e aveese ai le pefu ma otaota. Aloese mai mea fa'amama fa'afefe.
- Asiasiga: Periodically check all bolts and fasteners for tightness. Retighten as necessary.
- Siaki mautu: Ensure the stand remains stable and level. Adjust shims if required.
- Fa'aleagaina: Inspect the stand for any signs of damage, such as bent components or cracks. If damage is found, discontinue use and replace affected parts or the entire stand if necessary.
8. Faʻafitauli
This section addresses common issues you might encounter with the stand.
- Tu i luga o le tulaga:
- Check if the stand is on a level surface. Use shims if needed.
- Ensure all assembly bolts are securely tightened.
- Machine Not Secure:
- Verify that the machine's mounting bolts are correctly installed and fully tightened.
- Ensure the machine is compatible with the stand (SM3002, SM2502, SM2503).
- Sliding Shelf Sticking:
- Clean the shelf runners to remove any debris or dust.
- Apply a small amount of dry lubricant if necessary.
9. Fa'amatalaga
| Fa'aaliga | Fa'amatalaga |
|---|---|
| Numera Fa'ata'ita'i | SM3002ST |
| Fegalegaleaiga | Sealey SM3002, SM2502, SM2503 Lathes/Mill/Drills |
| Aotelega (W x D x H) | 800 x 355 x 880 mm (pe tusa ma le 31.5 x 14 x 34.6 inisi) |
| Mea mamafa | 4.41 lbs (2 kg approx.) |
| Fa'aaofia Vaega | Lathe Stand (assembly required) |
10. Fa'amaonia ma Lagolago
This Sealey product comes with a 1-year guarantee. For specific terms and conditions, please refer to the official Sealey warranty documentation or contact Sealey customer support.
Image 10.1: Sealey 1 Year Guarantee

The Sealey brand logo accompanied by a '1 Year Guarantee' badge, indicating the product's warranty period.
For technical support, spare parts, or warranty claims, please contact your authorized Sealey dealer or visit the official Sealey webnofoaga.